
DIY Glitter Ornament
I’ve been playing with glitter again and I have to share this with you. The tutorial is at http://theornamentgirl.com/blog/being-crafty/how-to-make-glitter-christmas-ornaments-diy/ although I will give you a few tips, so it doesn’t take you as many attempts to make the ornament of your dreams. *grin* I know that’s a bigger picture than I usually bombard you with, but that’s just how much I love it.
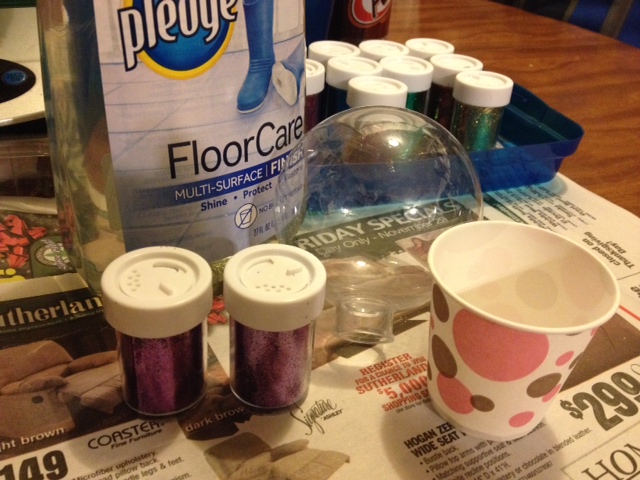
Basically you rinse your clear ornament with rubbing alcohol and let dry. After it’s dry you squirt a little floor finish in it (although there’s some sticker shock, it barely uses any, so that bottle will last almost forever), swish the finish until it coats the entire interior, and pour the excess back into your bottle. Sprinkle your chosen glitter into the bulb and either shake or swish the glitter until it coats the ornament. This is where I have a little input. I never figured out how she had any to “swish”, since the excess liquid was poured back into the bottle, but I covered the hanger hole with a napkin and shook the tarnation out of it. Super fine glitter didn’t coat very well, so I had to rinse the ornament and start over another day. When I switched to the other glitter it dawned on me that I should take a picture, so you could see the glitter (although it’s not an overly descriptive picture, I know lol), but mostly so you can see the bottle of finish in case you get as confused as me when standing in the store and trying to figure out which one to buy. So, using the slightly less fine glitter things started out well, but after the bottom was coated in glitter I couldn’t seem to get the glitter to move. I tried all sorts of fun shaking, rattling, and wiggling, but if you end up with a clump at the bottom, don’t worry. Just add more glitter! It takes a LOT of glitter. I went through half of one of those jars of glitter just on the one ornament. I tried sprinkling the glitter directly into the opening and I also used a paper funnel. Once I realized that shaking didn’t actually harm anything, despite the tutorial stating that she didn’t like to shake, I stopped trying to funnel the glitter to the spots that I needed to cover. Just put your glitter in and treat the ornament like a shake weight. After a few minutes you’ll have a fully coated ornament. If you still have some blank areas despite having a bunch of loose glitter inside, then the floor finish didn’t coat that section. It bites, since there’s no fix at this point, but it happened to me in a tiny spot (notice how the top hardly has any glitter? I didn’t realize that I had failed to swish that finish along the entrance. I found that the ornament balanced well on the small Dixie cup and it kept it from rolling about spreading the glittery love across my table. It’s also a handy little stand for the ornament to sit and dry on, and since it won’t roll my cats are leaving it alone. *grin* The ring from a mason jar works well too to keep the bulb confined, especially if your dog happens to smack paper cups off of tables with his tail like mine. The only down side is that it’s hard to get pictures of the pretty surface without dark spots or reflections when it’s too cold to have a curtain open for natural lighting. LOL
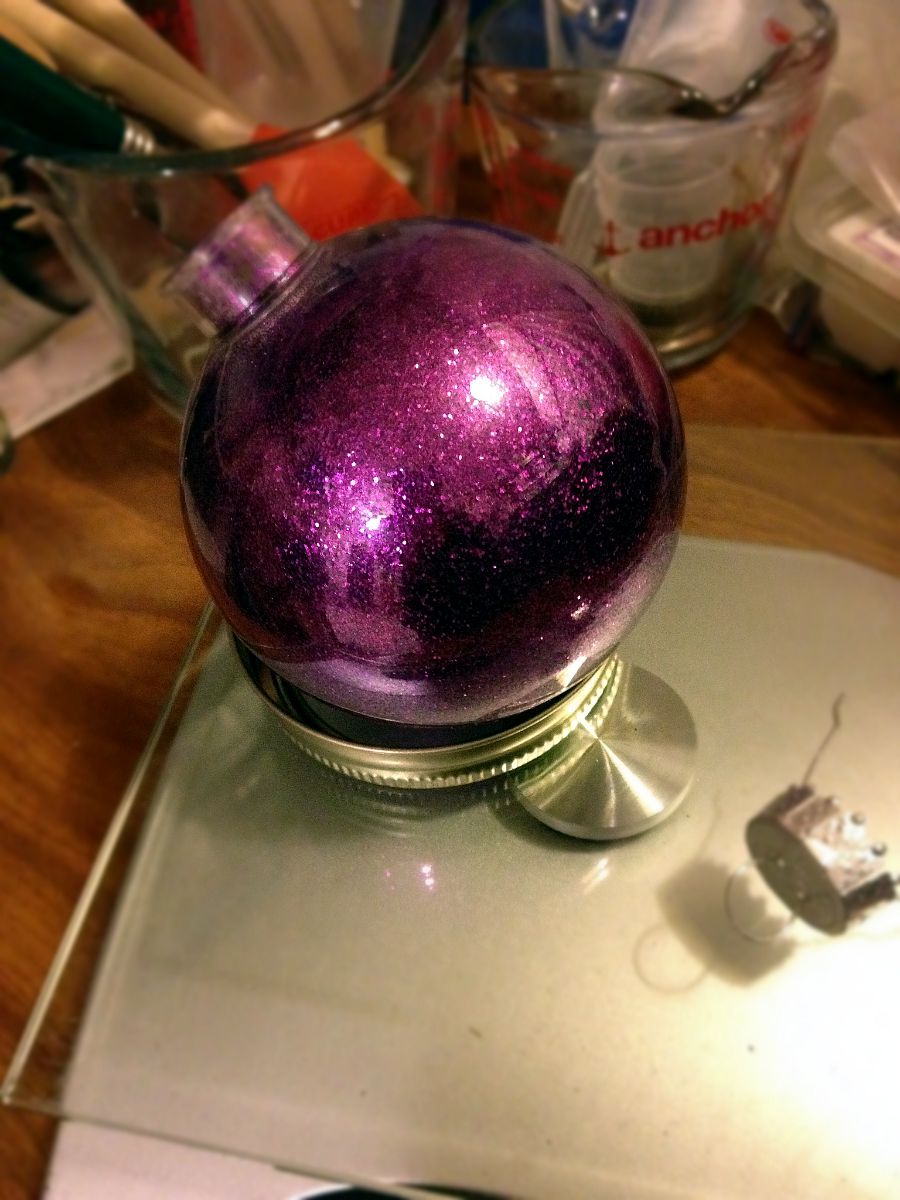
Glitter Ornament
I hope you give this project a try. Knowing how to prevent the troubles I ran into this project should take you about fifteen minutes. In the tutorial she also added stickers and things to hers, so imagine the possibilities. You could bling it out with some little gems, initial them in puffy paint, or do it in green and paint a fun Grinch-styled face on there. If you have any problems, feel free to drop me a line. Otherwise, have fun! 🙂
