Hi there! I’ve been a little preoccupied with some medical issues, but I figured I’d get back into the swing of things with an easy recipe. This is one of those one pot dump soups that utilizes canned items and leftover steak. Living in the Midwest we have quite a bit of steak or even some grilled flank steak for fajitas that works perfectly in this soup. You could always cook some bite sized stew meat, too, of course. I wish I could put this recipe in that handy print format for you, but I have no clue how to do that with this blog. lol I’ll write up the recipe below the main part, so it’s easier for you to copy and paste.
In a soup pot dump one can of yellow corn with juices (sometimes I even use a steamer bag of frozen sweet corn if I don’t have canned or if I want a little sweeter corn), a can of green beans with juices, and a can of stewed or diced tomatoes.
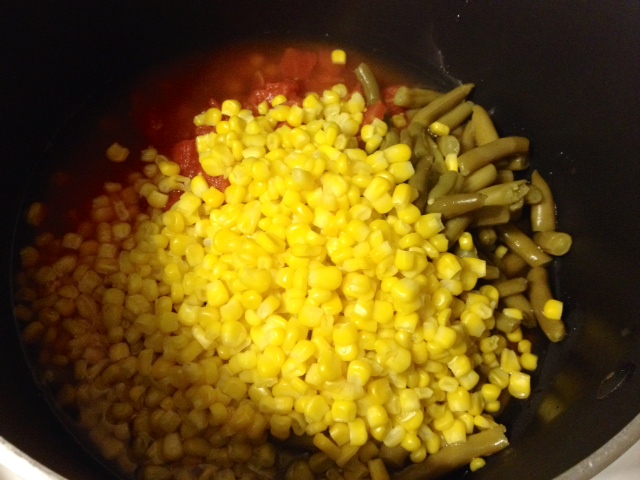
Beef Soup Beginning
Add 2-4 cups of water (you’ll have to play with this recipe to see what your family prefers. I like mine in between, so I go with three cups), 2-4 beef bouillon cubes (equal to the amount of water you use), and then fill one of your empty veggie cans with instant white rice and add that. Didn’t expect that, right? *grin* Add a dash of salt (optional, I tend to add about a teaspoon, although when I’m watching my sodium intake I don’t add any and I use no sodium canned veg too) and about a teaspoon of garlic powder, to taste. You could add a bit of pepper, too, but I have a sensitivity to pepper, so I just set out the pepper for individuals to season their own bowl to taste. By the way, you can totally use beef broth instead of the water and bouillon. I usually have bouillon on hand, though, and have gotten to where I prefer the taste of it this way.
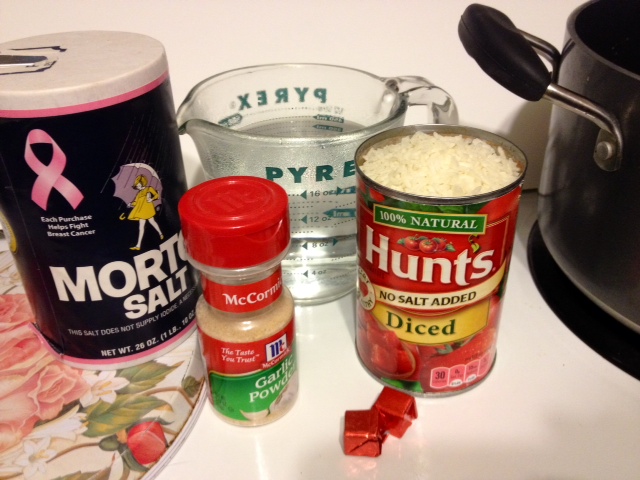
Beef Soup ingredients 2
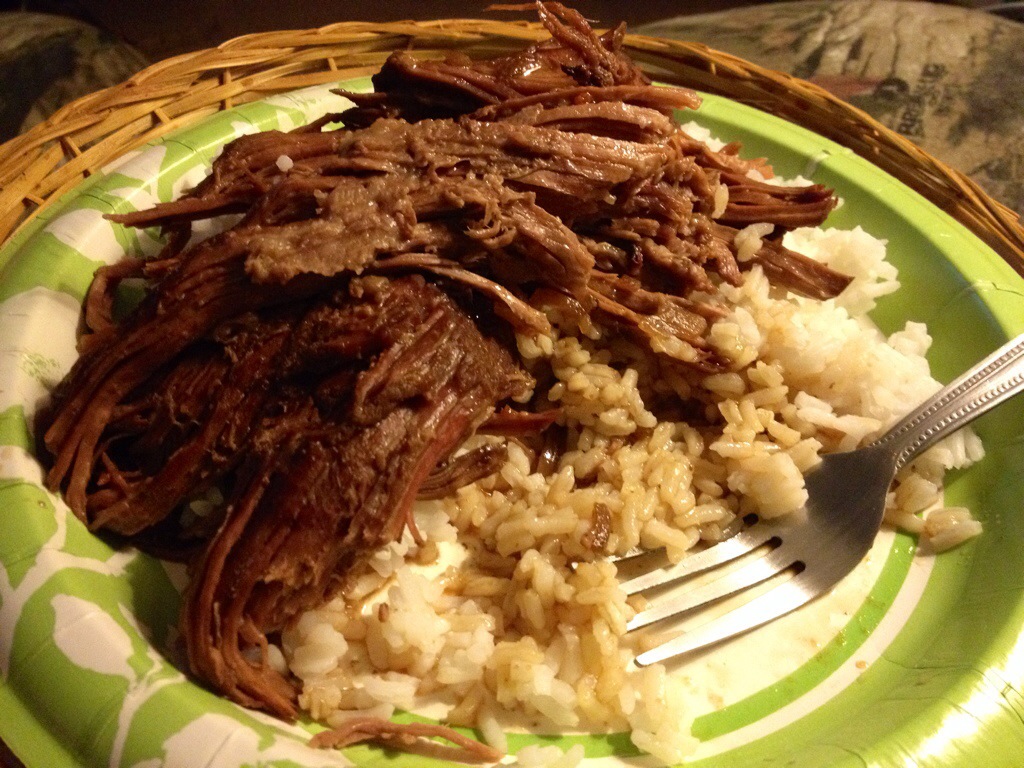
Next add your meat. I had a baggie of leftover flank steak from fajitas, which I dumped right on top and then mixed it all together.

Beef Soup 3
Put the lid on the pot and bring to a low boil on medium. Once a boil has been reached lower the heat and simmer for 30-45 minutes. This time frame is so variable because it all depends on the rice. At 30 minutes try your rice and see if it’s tender. If it is, then it’s time to dish up! I’ve noticed that sometimes in the winter when the house is cooler that it can take about 40 minutes. Here’s how your soup should look when it’s ready.

Easy Beef Soup
It is so yummy and filling, perfect for a cool day and a great tasting way to get some veggies into your family’s diet (what can I say, I was a very picky eater when I was a kid and my mom started making this *grin*). One thing that I want to warn you about so you don’t think you’ve done something wrong is that the rice will soak up most of the liquids after it sits a bit. If you want to have a wetter soup, then add more broth/water and bouillon. The rice is so plump and juicy from absorbing the broth that I kind of like it when it gets thick. Here’s what it’ll start to look like.
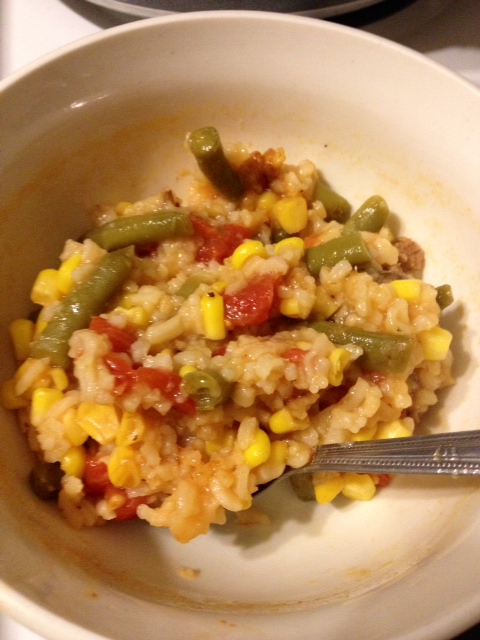
Beef Soup 5
I just don’t want anyone to worry when they go back for seconds or to warm up leftovers. Make sure you don’t drain your tomatoes or veggies, though, in order to get the right flavor.
Well, there you have it. Our secret to a hearty meal with minimal work. *grin* Below is the recipe itself for your convenience. I hope you have a wonderful weekend and happy pampering!
Easy Beef Soup
Makes…plenty of servings? lol I have no clue.
Ingredients:
1 can of green beans, not drained
1 can of yellow corn, not drained (or one bag of frozen steamer sweet corn, with juices)
1 can of stewed or diced tomatoes
1 can of instant white rice (just use one of the empty veggie cans, so no measuring cups to wash!)
2-4 cups of water (to preference)
2-4 beef bouillon (equal to cups of water used)
1 tsp garlic powder, to taste
1 tsp salt, to taste, optional
Leftover steak or diced stew meat (about a cup, but it’s to preference)
Put all ingredients into a soup pot, mix, and cover with a lid. Bring to a low boil over medium heat, then reduce and simmer 30-45 minutes until rice is tender.