![]()
When we discovered we had accidentally made a little room during our first step of landscaping, I decided that we really needed some caves. Thankfully Fanatik has a super easy Cave Kit. I went a bit nuts and had about a quarter of the sim filled with caves, but didn’t really want to mess with the landscaping of the SL land (one roommate is the actual land owner, so only he can do the SL landscaping, whereas I can do all of the mesh fun). I scaled back and there are just four full cave rooms and then the exit. I need to add more decorative features, especially to the first and fourth rooms, but at the moment, I’m good.
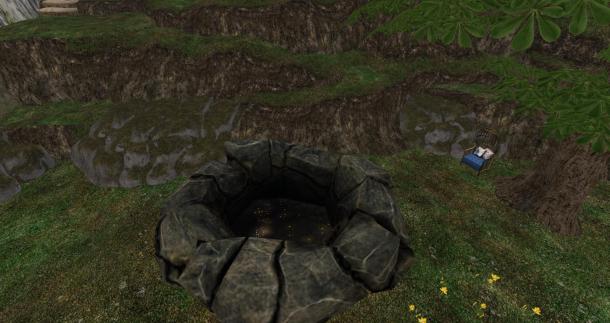
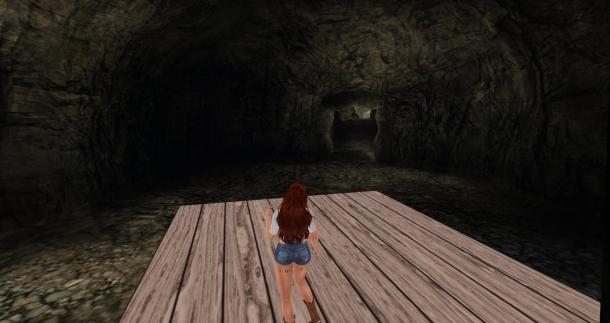
As you saw before, this is the “down the ladder” access point, which we typically use as the entrance, but there are technically two ways, since the other is a rock archway down by the pond. We usually start here and leave by the rock path. A little more Alice in Wonderland© this way.
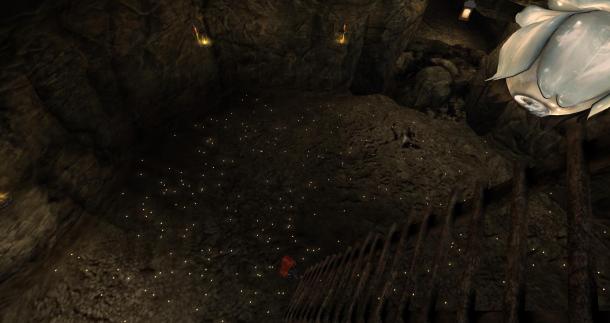
When you go down the ladder (or fall if you’re as uncoordinated as me) you enter a pretty barren room at the moment, but there’s a full bed of twinkling lights that fade in and out on the floor, with torches lighting all of the walls. There’s a little rock path near the white eyeball flower (which is now gone), which leads to the pathway to go to the second cave room.
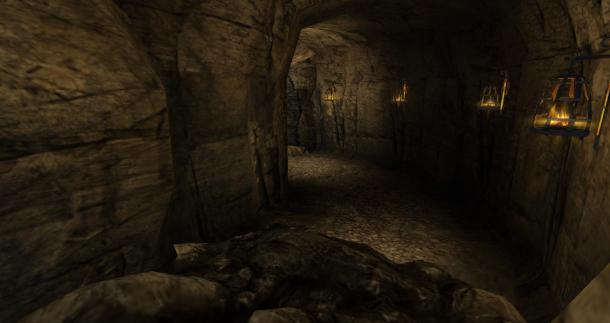
I continued the torches through the rock tunnel, although the lighting doesn’t match the natural lighting in the tunnel. I wanted lights and didn’t give a patootie if I put some in dark spots. LOL
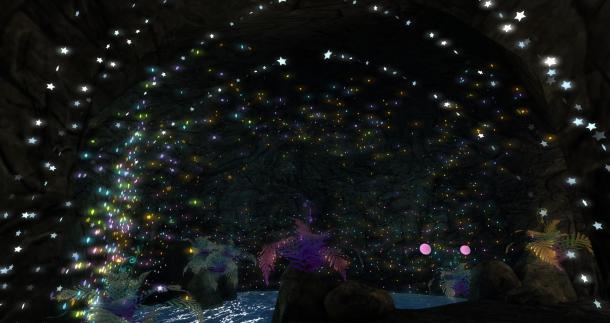
The second room, at the end of the rock tunnel path. This is my absolute favorite room. Unfortunately a static picture doesn’t capture the absolute beauty of this room. The water has built in animations, plus I have meditation pose balls out for people to enjoy since it is so serene. There’s a star archway as you enter, then rotating sections of colored stars all inset from the walls of stationary colored stars. All twinkle and switch color schemes randomly. I also added some luminescent plants I found at The Looking Glass. When you set WL to midnight it is pure beauty.
So I took advantage of the built in animations. Apparently I really needed to wash my legs, according to the first anim that kicked in. *grin* This gave a nice picture of the background of star lights, though, plus a dim hint of one of the luminescent fronds. This room is an additive at Fanatik, so the water is not SL water and has the most gorgeous texturing.

The third room became an Aught gaming room, but was too blah, so I went to E.V.E. Studios and got their luminescent and waving colored fungi. I first started out with the whole room covered in them, honestly just to disturb one of my roommates since the fungi weirded him out at the store. *laugh* Then I scaled it back and it is kind of fascinating to watch them wave around with the color fluctuating slightly. For some reason it reminds me of the “poor, unfortunate souls” from Little Mermaid©. *grin*

This I included just in case you get the Cave Kit. It’s full mesh, so if you want to rez a mesh item (like all of my belongings LOL), make sure to build a prim to rez onto, and then move things into position. Otherwise you’ll lose any no copy items and you’ll get that lovely “…does not allow…” message.
And the final room, leading to the exit. I decided to go a little more lively, since it leads to the outdoor sunlight, plus I then got to find a use for some cool finds I picked up in the past few years. I need to add some additional items, especially to work with the overgrown piano that I totally love, but for now, it works.
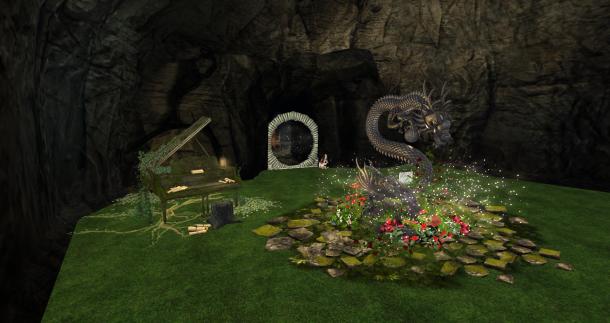
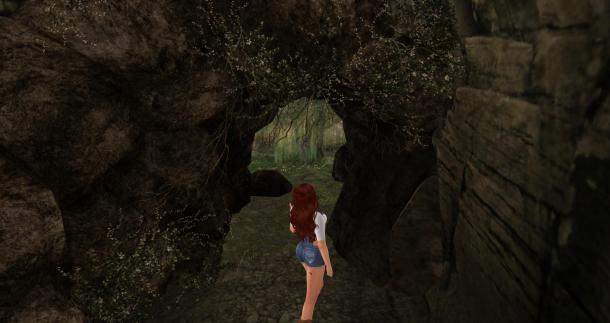
And this is one of the sloped entry pieces of the kit that is attached to the last room with most of the slope behind this shot. I love the inside of the rock archway we used though and how it works with the growth from the last room, so I chose to skip up a little. You can just slightly see the pond with the HPMD lit tree just outside the exit.
If you want any caves, I can’t recommend Fanatik’s kit enough, although it’s an investment, since it’s not super cheap. For the quality and ease of use, it’s well worth it. And there are TONS of pieces I didn’t use or show. Some of the tunnel creases are covered up with the included tunnel rocks and collapsed rock piles and you could even use them to give a lot more craggy details to the walls/rooms. This was a long part of the landscaping process, but I’m so glad that I held out through three attempts in order to find the kit that worked perfectly. Now excuse me, because I’m off to meditate in the glowing grotto…

Do you open to the public sometime Georgia?
LikeLike
It’s just our home, but if you’d ever like to explore for yourself, I’d be happy to set it up! It’s such an honor that someone would even want to, do a big thank you for the question even! Makes all our work feel extra special. 🙂
LikeLike