RSS Feed

Sugared Cranberries

I’ve been working on a little festive snack to have available for munching. I’ve been hoping that although it’s not overly healthy, it’s a step into getting Larry to start eating fruits. *grin* So when one of my favorite blogs posted a recipe for sugared cranberries I figured this was the one that would probably be the most likely to succeed with Larry. He loves tart and sour foods, as in he can actually straight up eat a lemon and enjoy it. *shuddering in mock horror* I’m more into mild flavors, probably because of my sensitivities from my illness that makes most regular things pack quite a punch to me.

I’m not going to post the actually recipe, since the blogger did a fantastic job, and I love recommending their awesome blog, so if you like what you see and read here, then hop over to Our Best Bites for the recipe please.

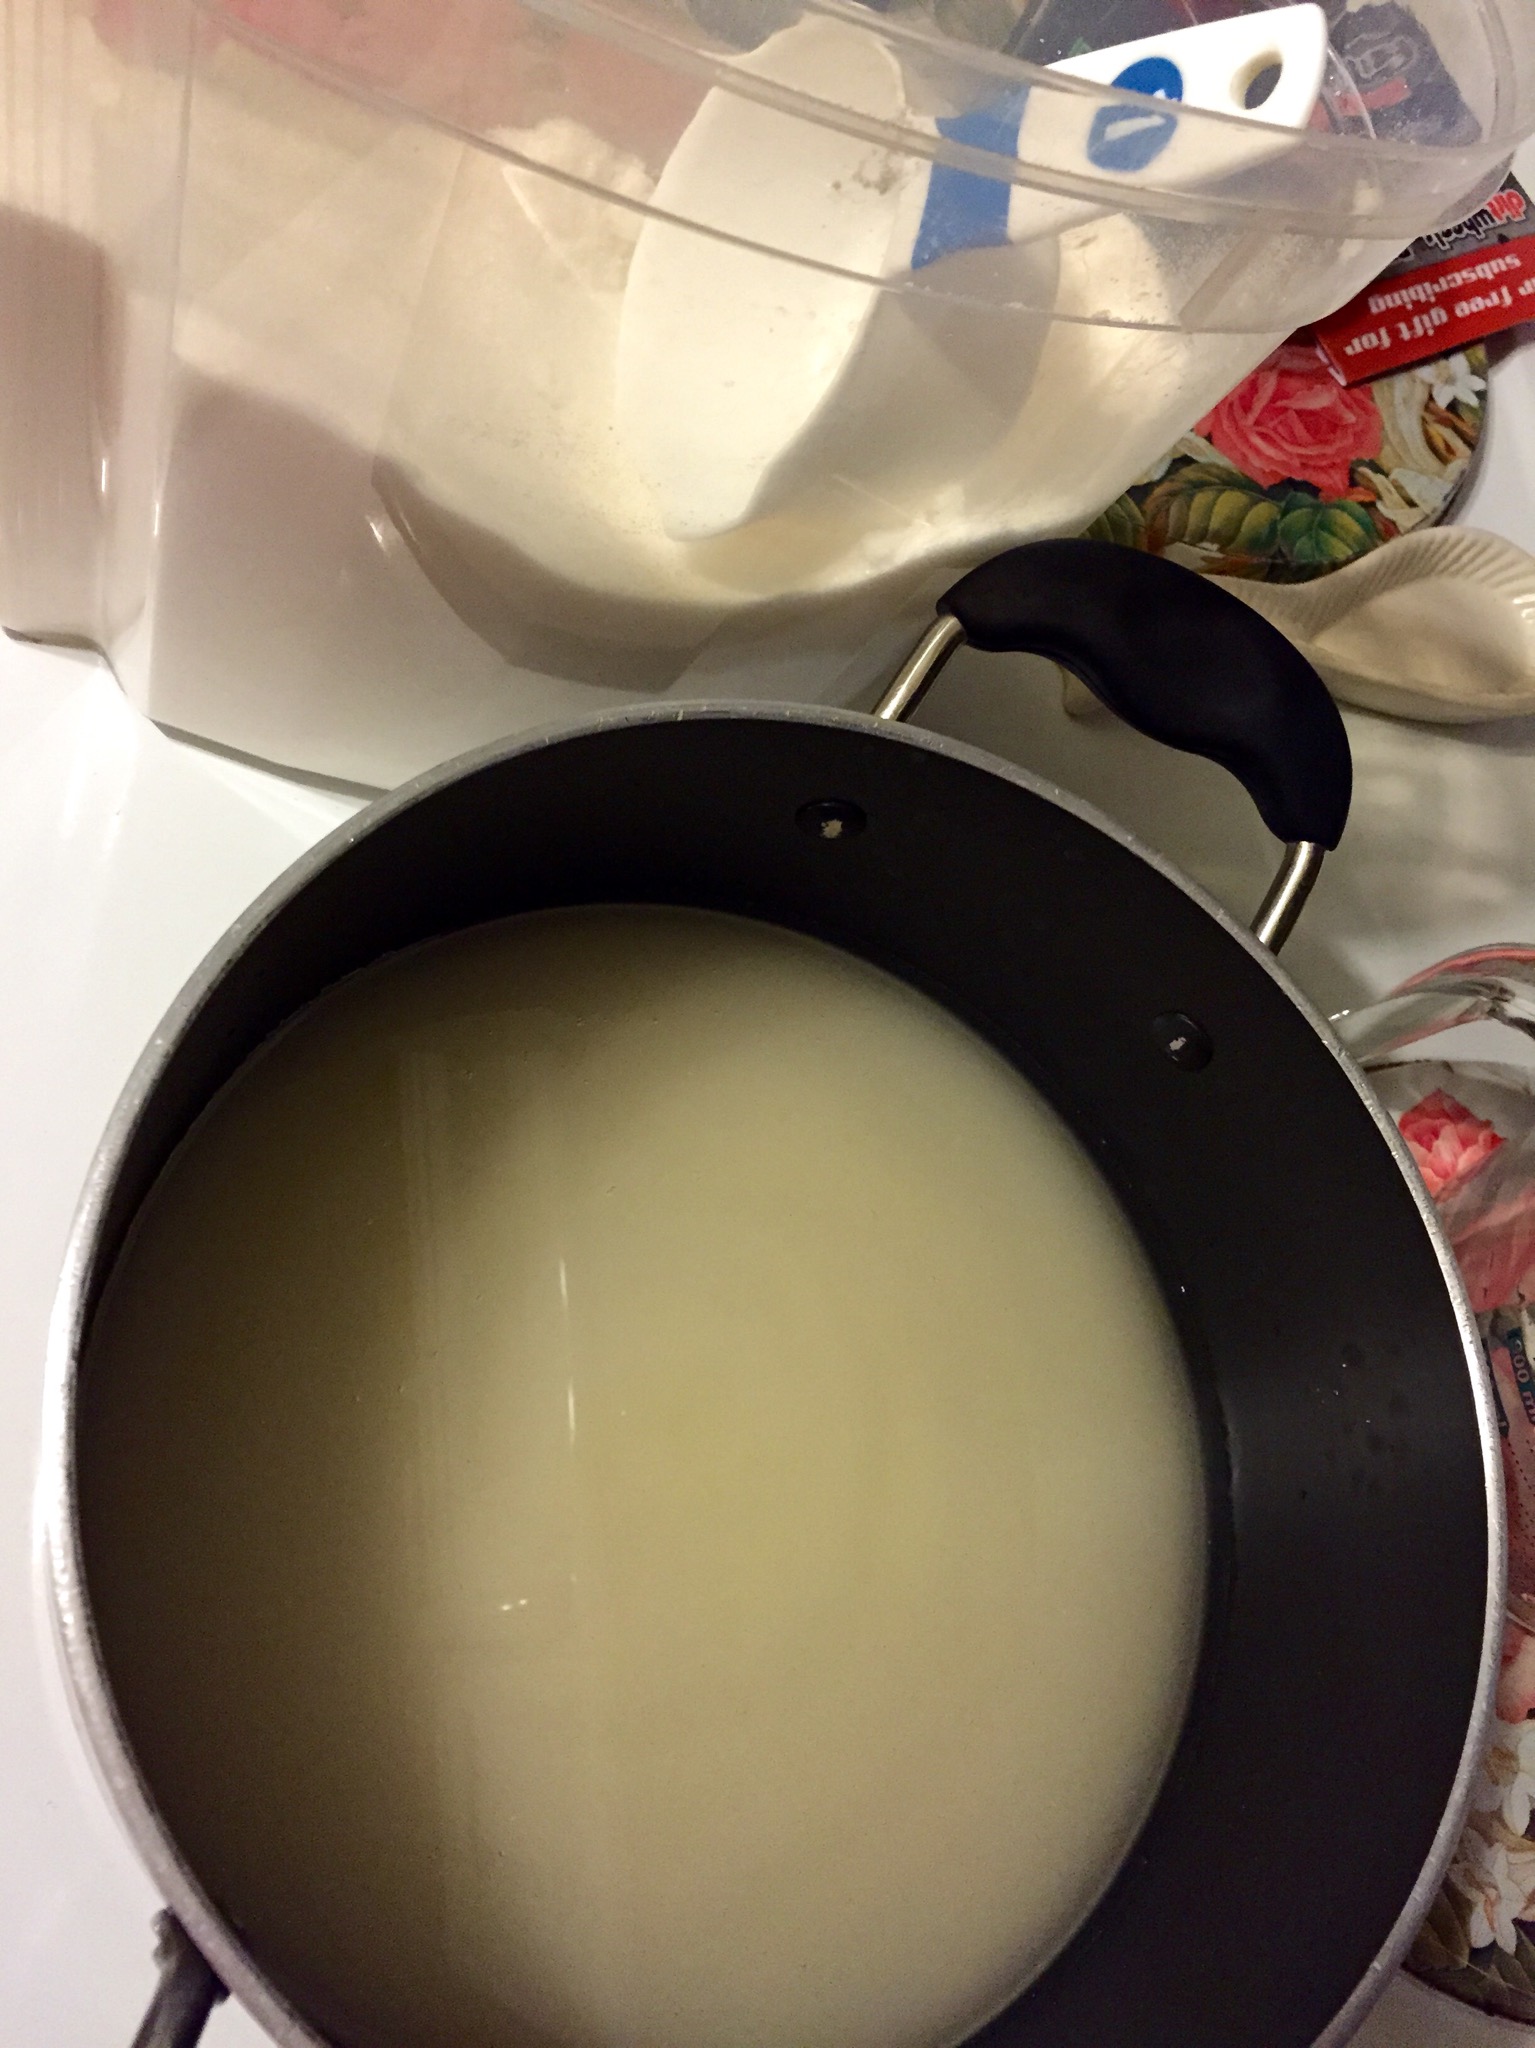
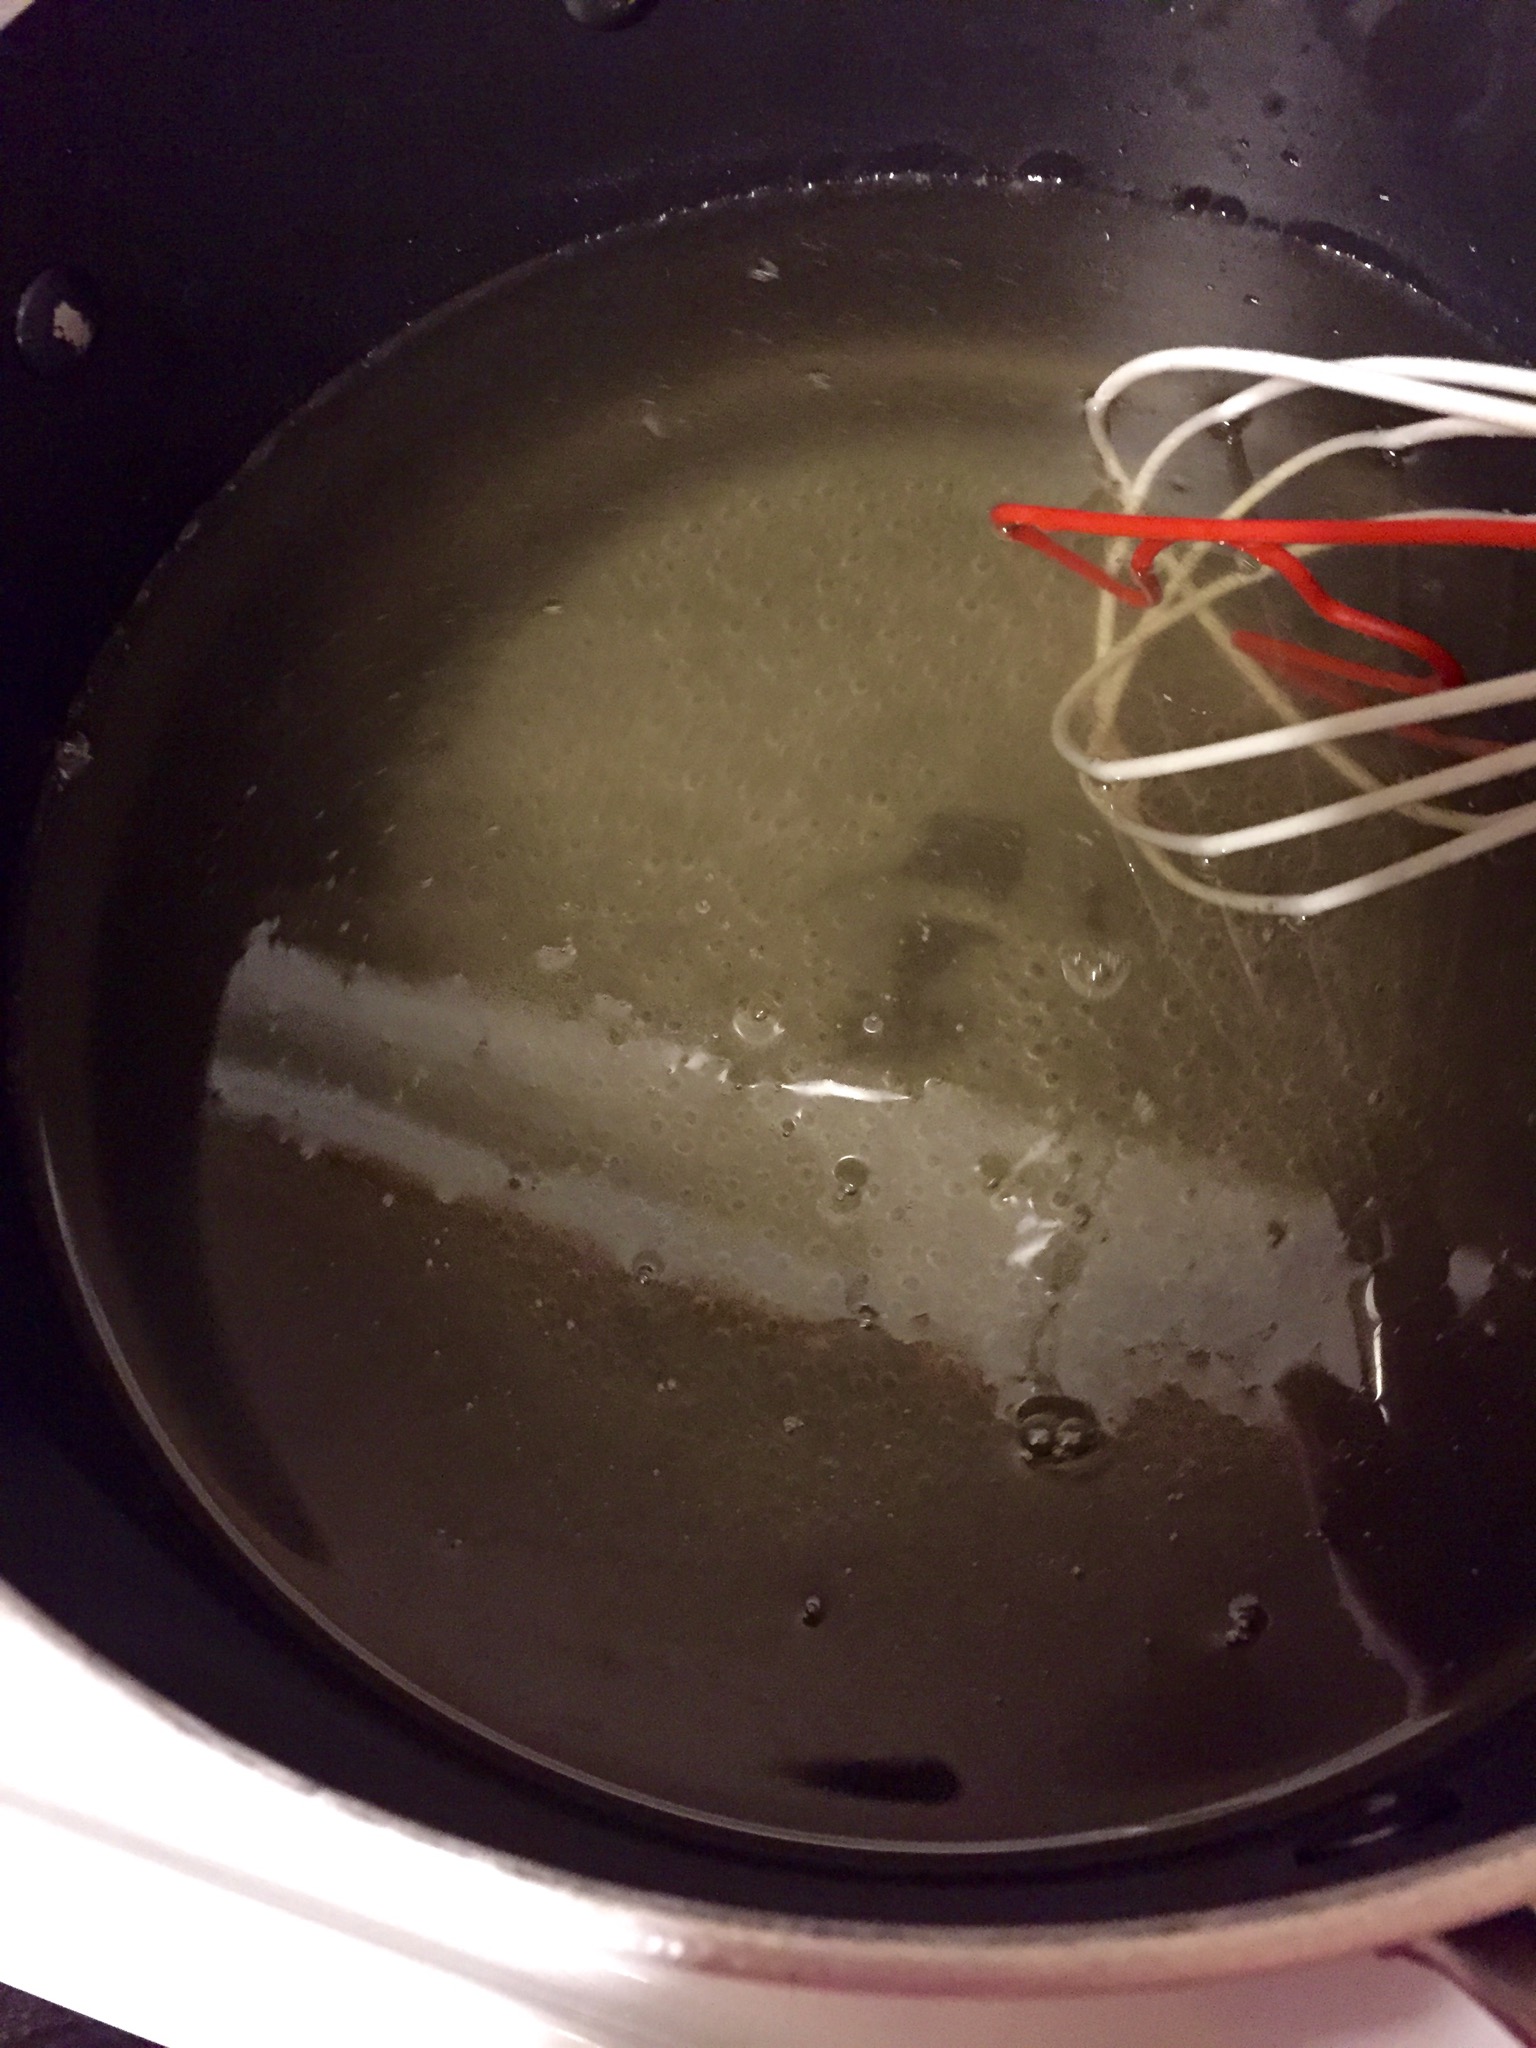
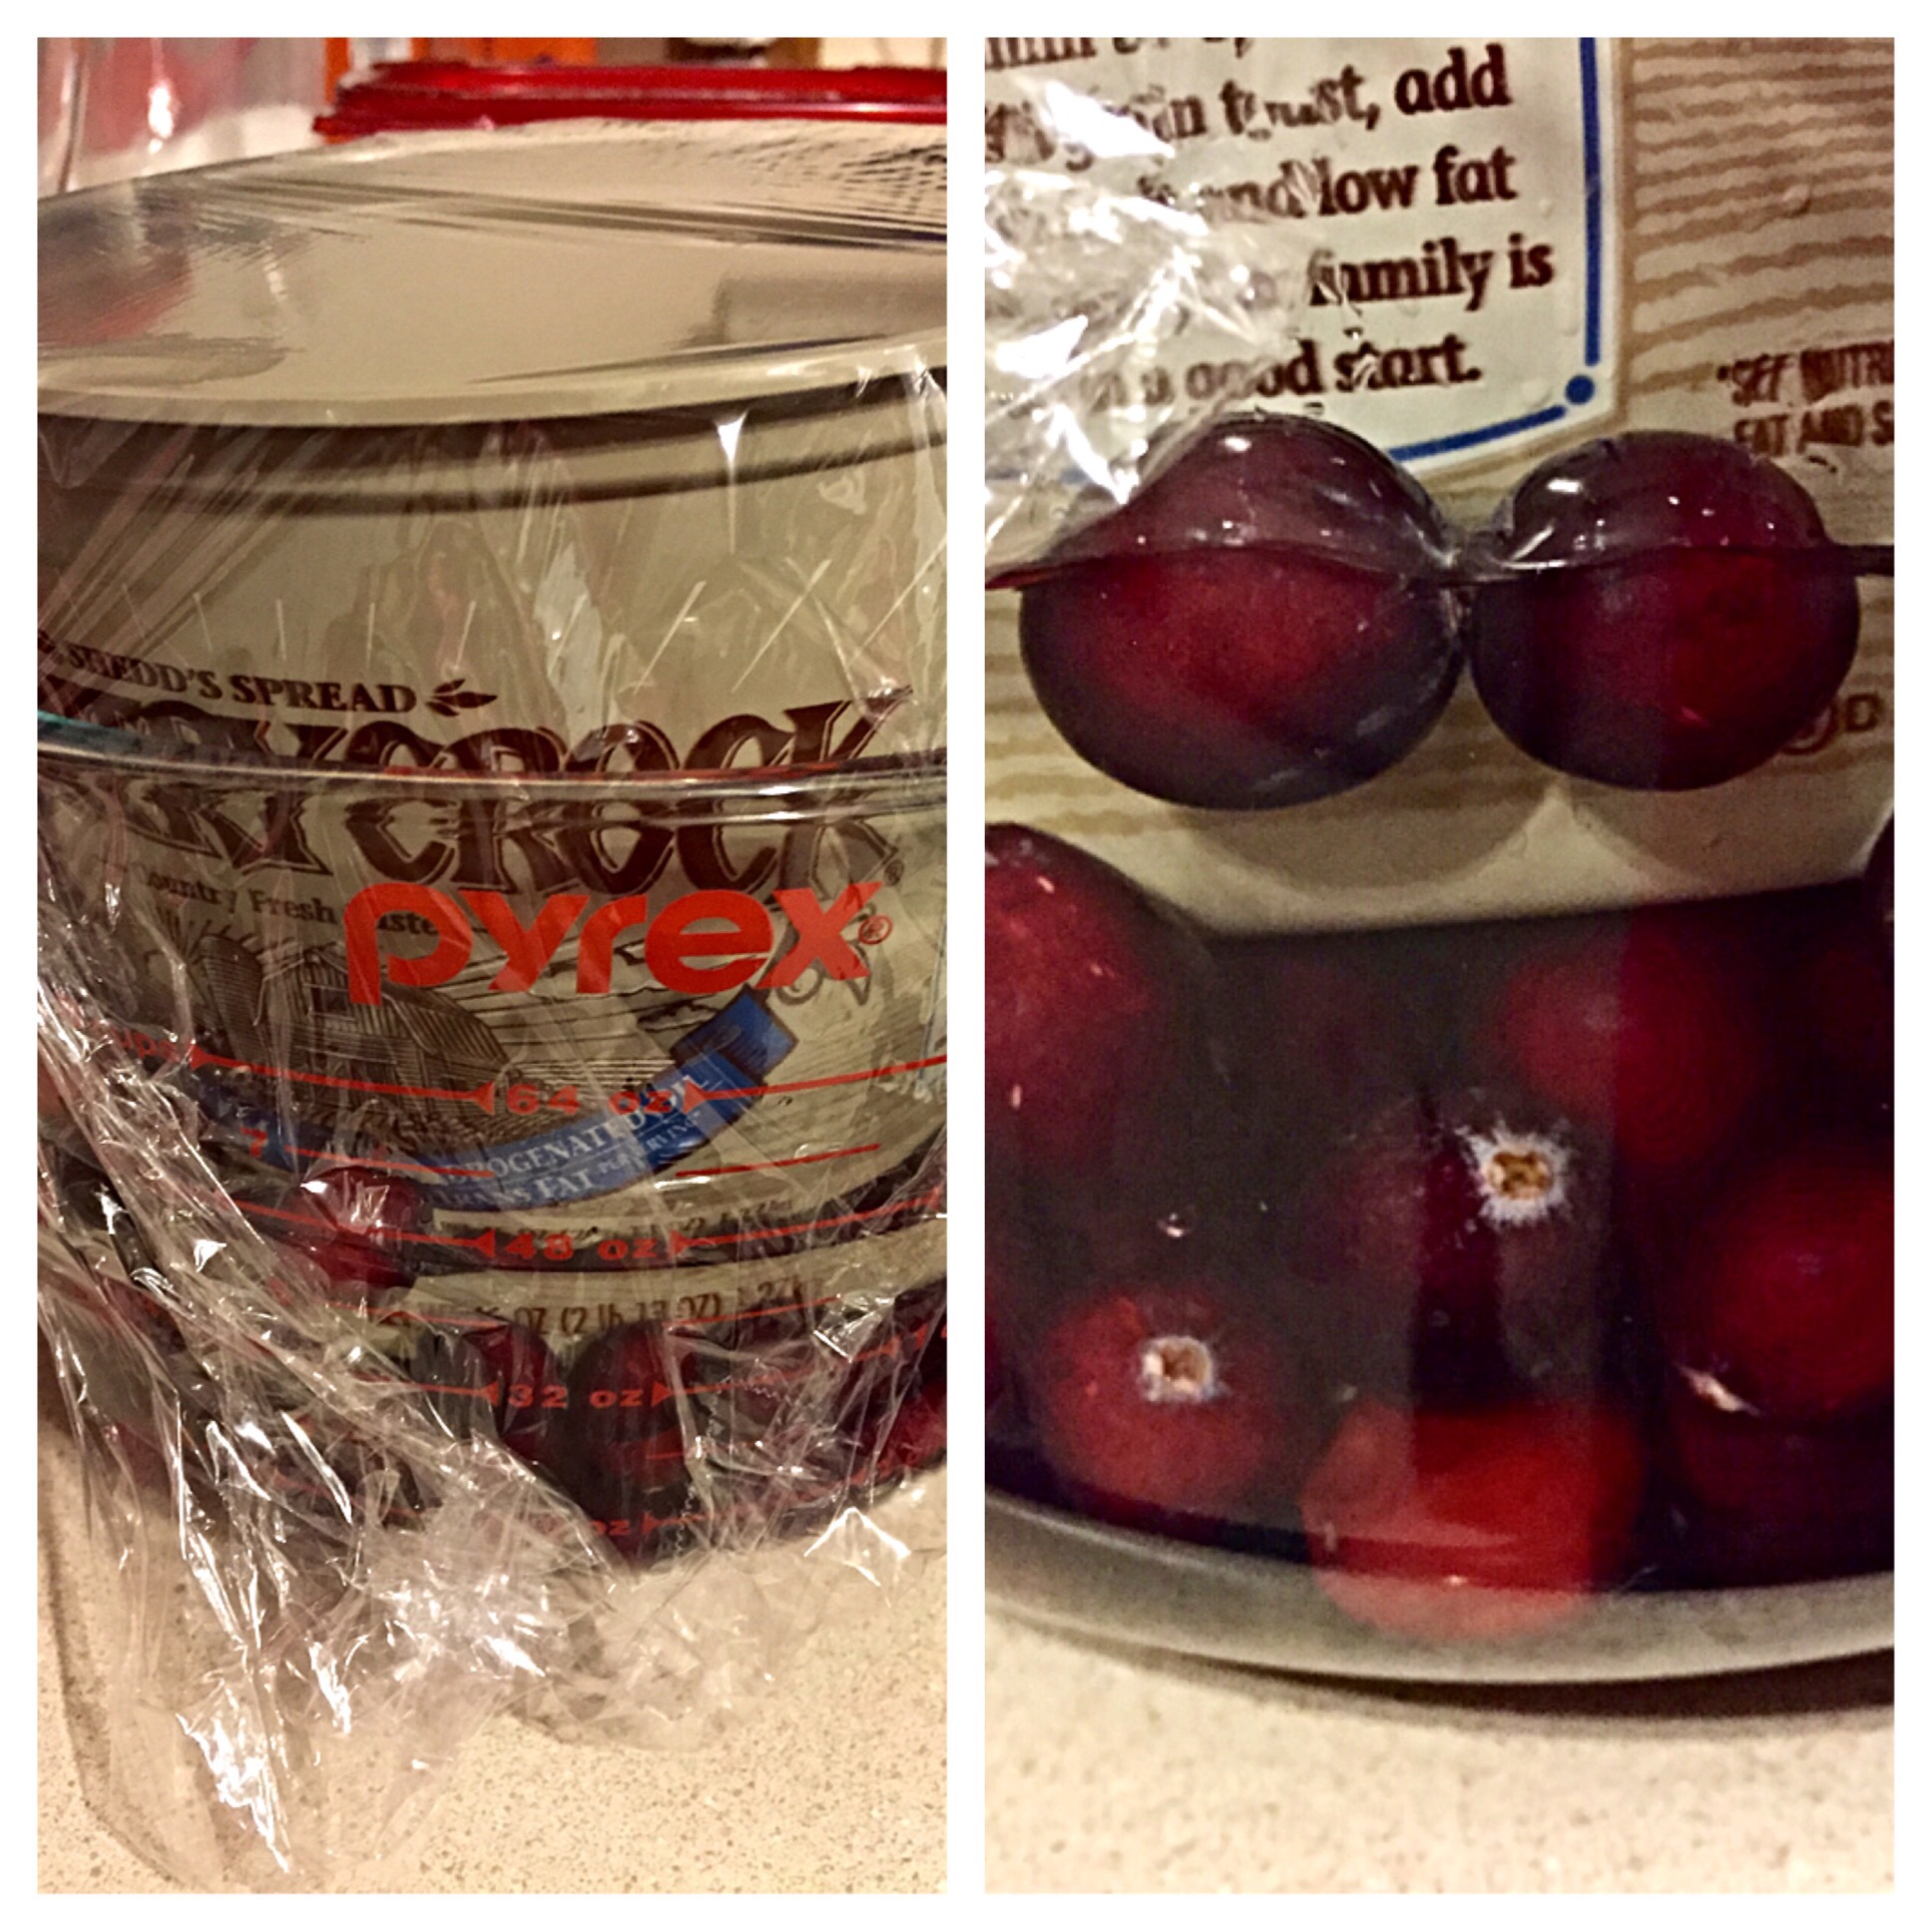
First off you rinse the fresh cranberries and then soak them overnight in simple syrup (I soaked them for 24 hours actually and used their 1:1 ratio syrup).

IMG_1931.JPG
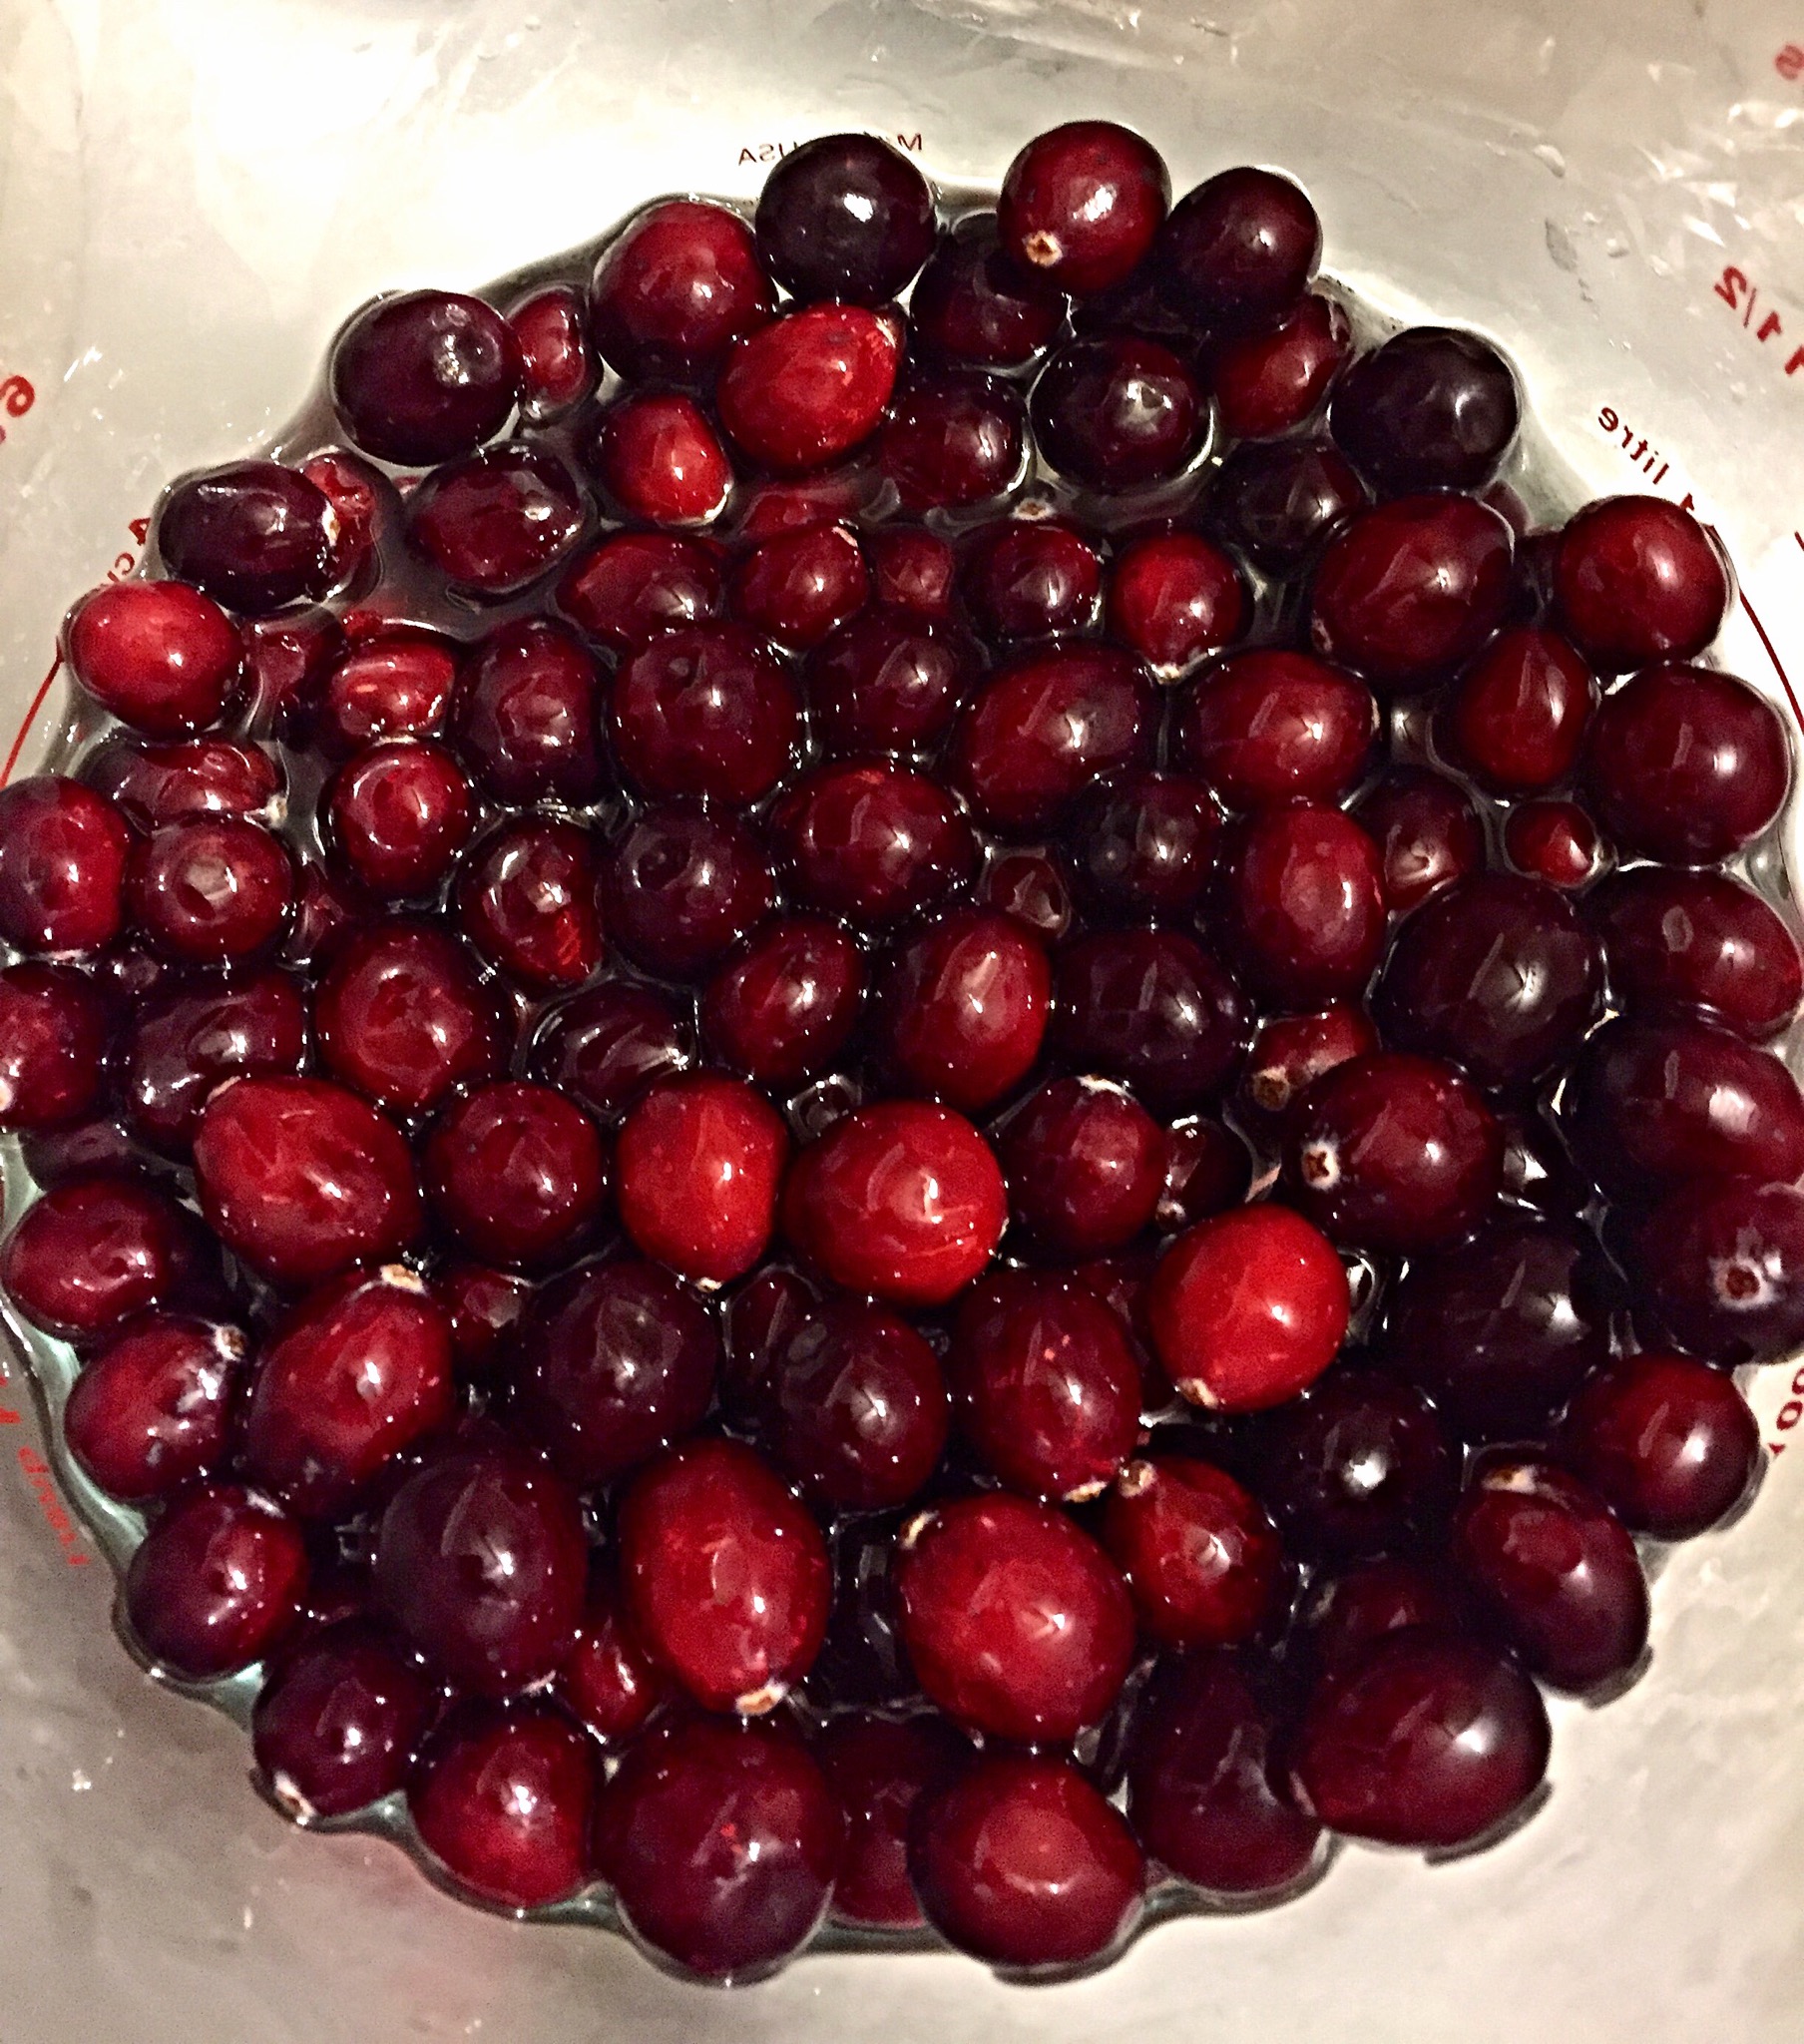
Since cranberries naturally float I had them in a large measuring cup with the syrup, and then an empty margarine tub filled halfway with tap water to work as a weight, which I placed on top of as many of the cranberries as possible, and then I wrapped it in plastic wrap to try and keep the cranberries as submerged as possible. Basically:
IMG_1929.JPG
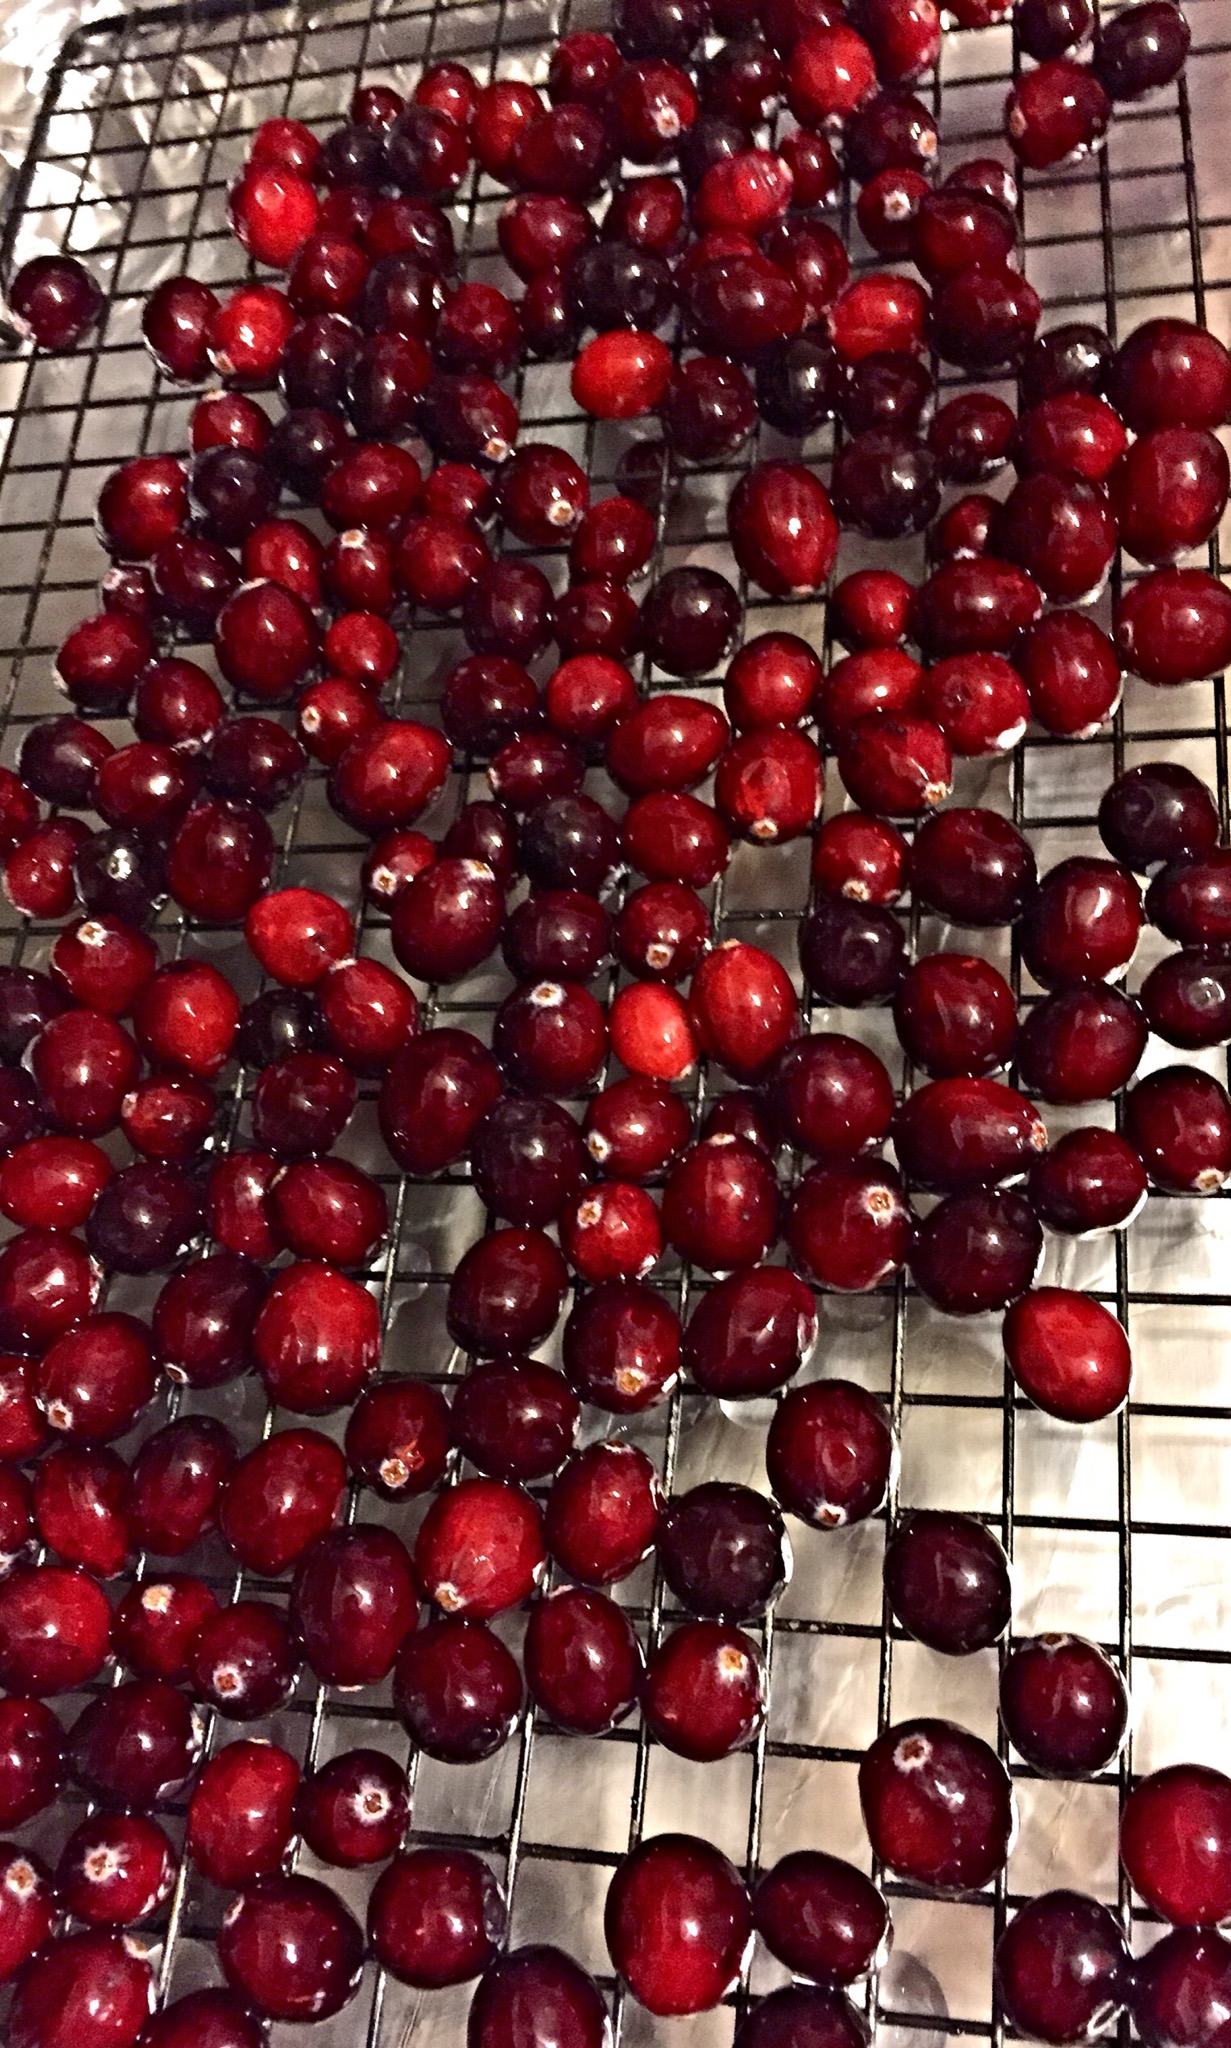
Scoop the berries out and let dry for an hour on a drying rack over foil. Now, the recipe said to make sure they weren’t touching. Um, pretty much impossible for me, since they kept trying to roll off if they were anywhere near the edges. *laugh* As long as you work with the berries after that hour then they’re easy to pull apart if they happen to stick together. Since I’m a slow mover the ones at the end of my project dried the longest and a few needed a little umph to pop apart. If you’re not going to work with the berries for a while I’d definitely recommend that you follow their instructions to keep them from touching, even if you need to do two separate trays!

IMG_1932.JPG

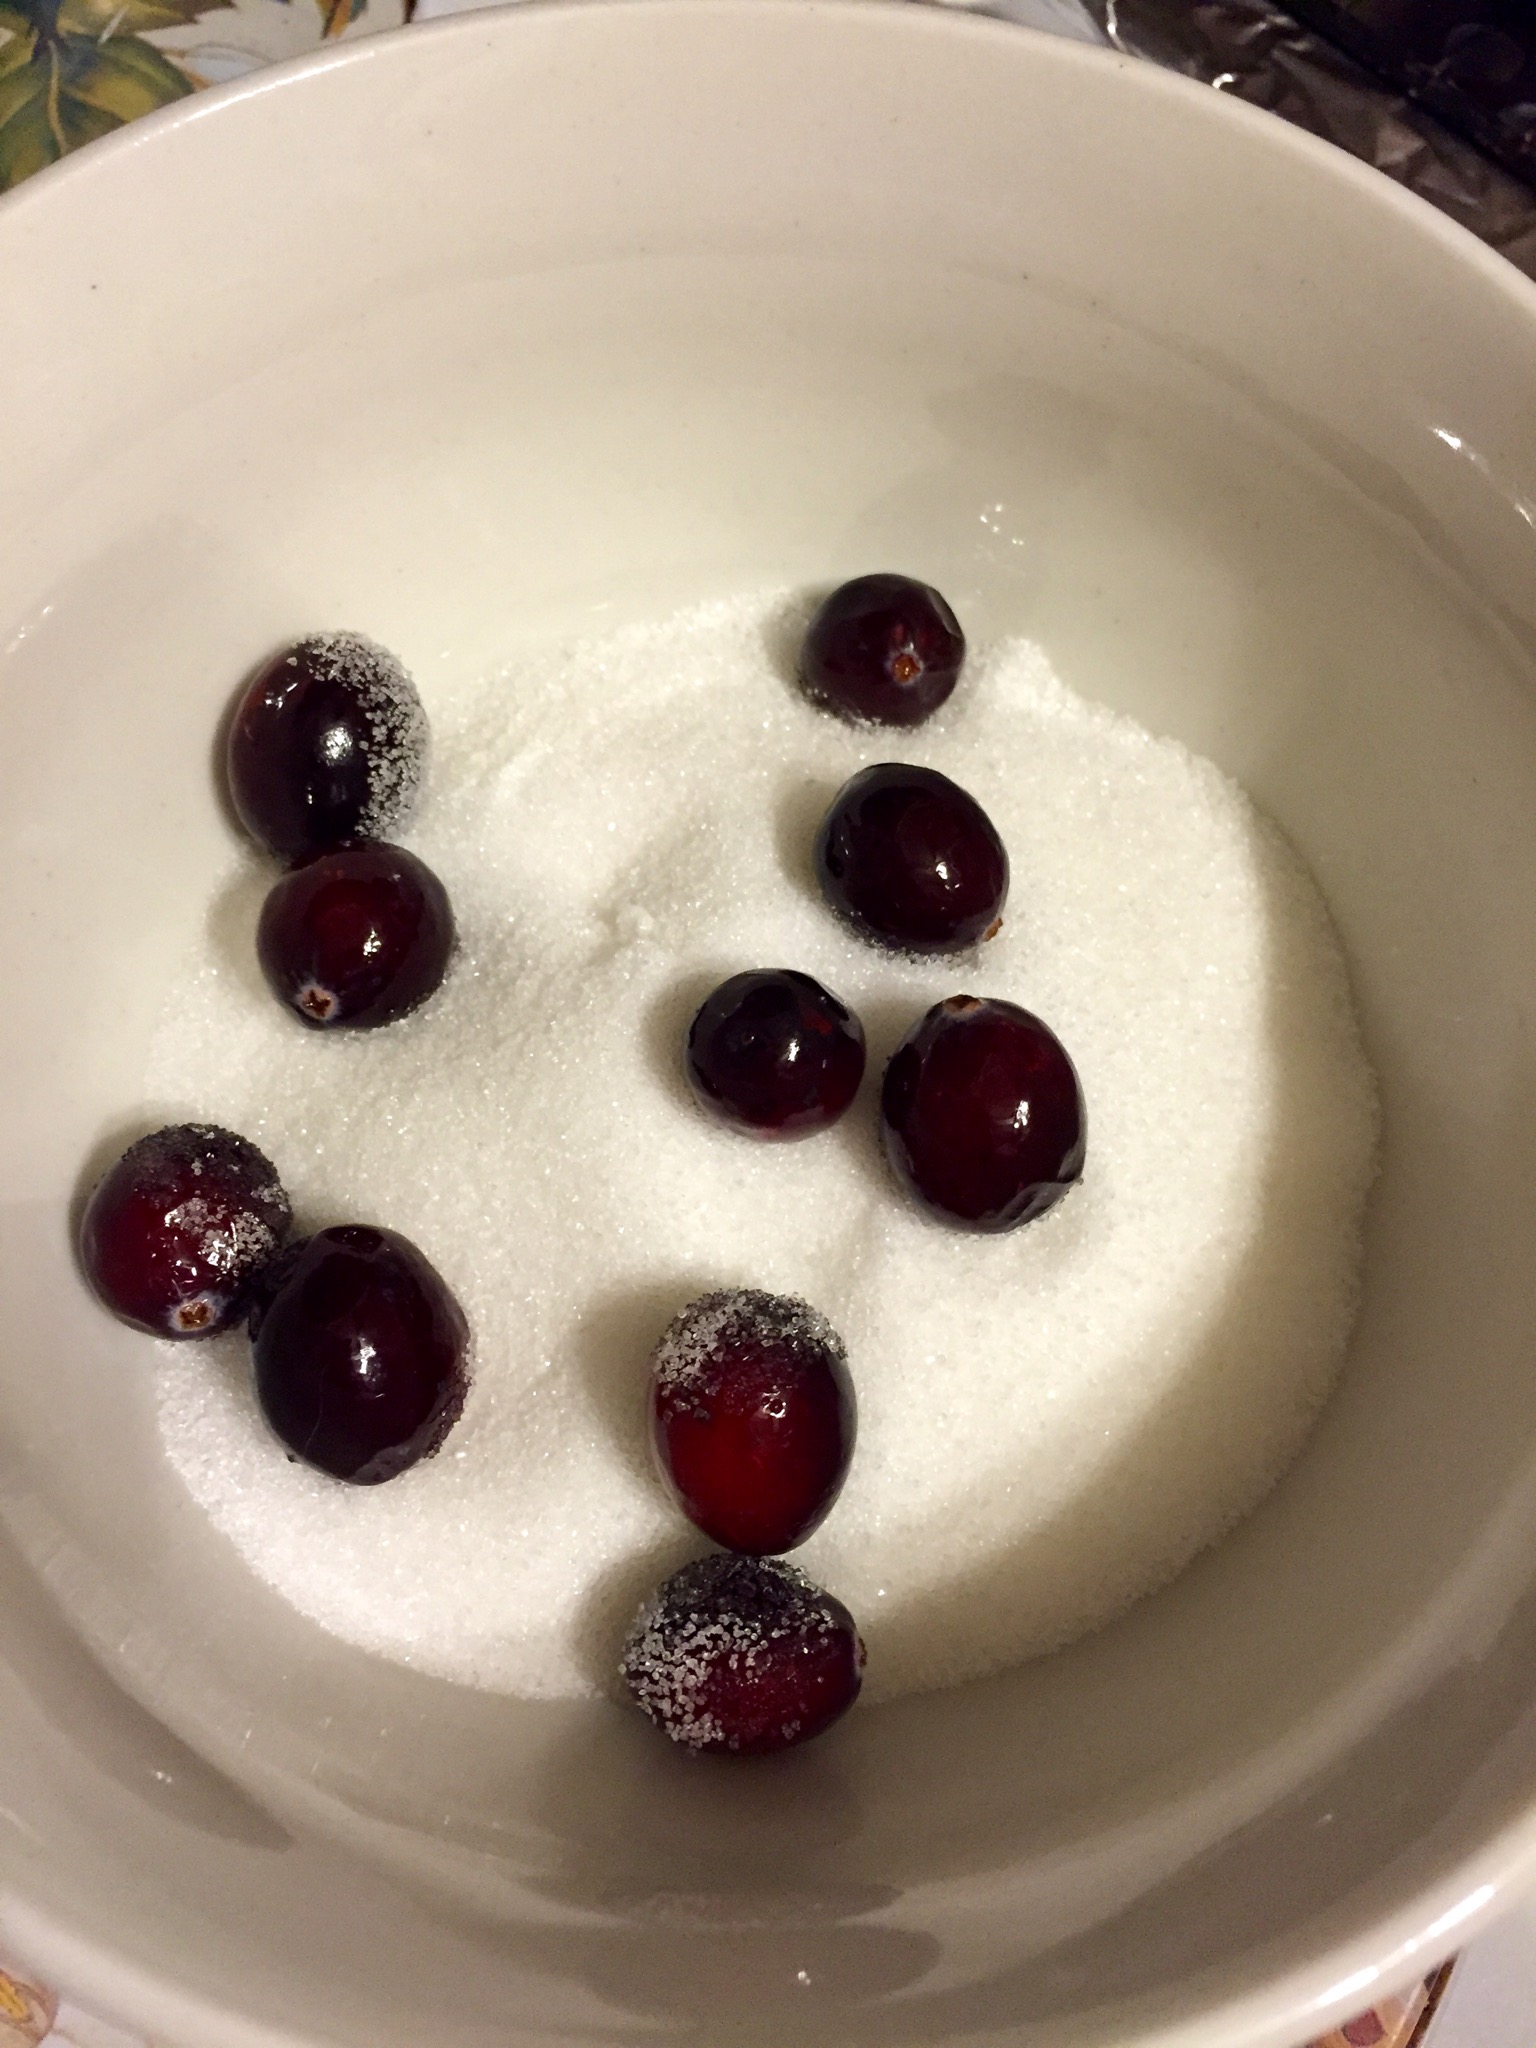
After they’ve dried you put a handful into some sugar and coat them. Now, I had a brain fart when I made my grocery list and forgot that the recipe recommends a coarser sugar, so I only had plain granulated sugar. It works, but you can’t just roll them in the sugar and call it good. To make a good coating with plain granulated I found that rolling all of the handful together first, and then working individually after that worked best. The initial roll keeps any of them from sticking, especially if they are bouncing into one another while you work the sugar around. Then I found that mounding and patting the sugar onto the berries seemed to hold the best. The coarser sugar is supposed to cover the berries much better and I bet it’s much easier to work with for this. Anyway, I also noticed that the longer I worked, the coarser my sugar became because of the syrup clumping some of it, and the better it covered, so when I ran out of sugar and had to add fresh, I dipped my fingers into some syrup and then swirled into the sugar. My fingers got coated, so then I just rubbed them together and let the clumps fall into the sugar, and mixed them into the rest of the sugar. It made all of my fresh sugar a bit coarse and the coating process went much faster then.

IMG_1924.JPG

It took me a lot longer than I expected to roll one bag’s worth of sugared cranberries, almost an hour and a half total. I’m a slow mover these days, but even for me that’s a bit long. I think the coarser sugar would massively speed things up, plus make sure you’re generous with the amount of sugar in your bowl for rolling! The more abundant it is, the easier it goes on. I’d much prefer to throw some leftover sugar out next time over spending so much time at this. *laugh* The coated berries dried on a wax paper lined cookie sheet for two hours. I think next time I’ll let them sit an extra hour. The coating was mostly hard, but I noticed that the coating was vet crumbly and came off easily as I moved them individually to the container, so I’d recommend three hours. If your home’s air is moist I might consider just a little more drying time even.

IMG_1933.JPG

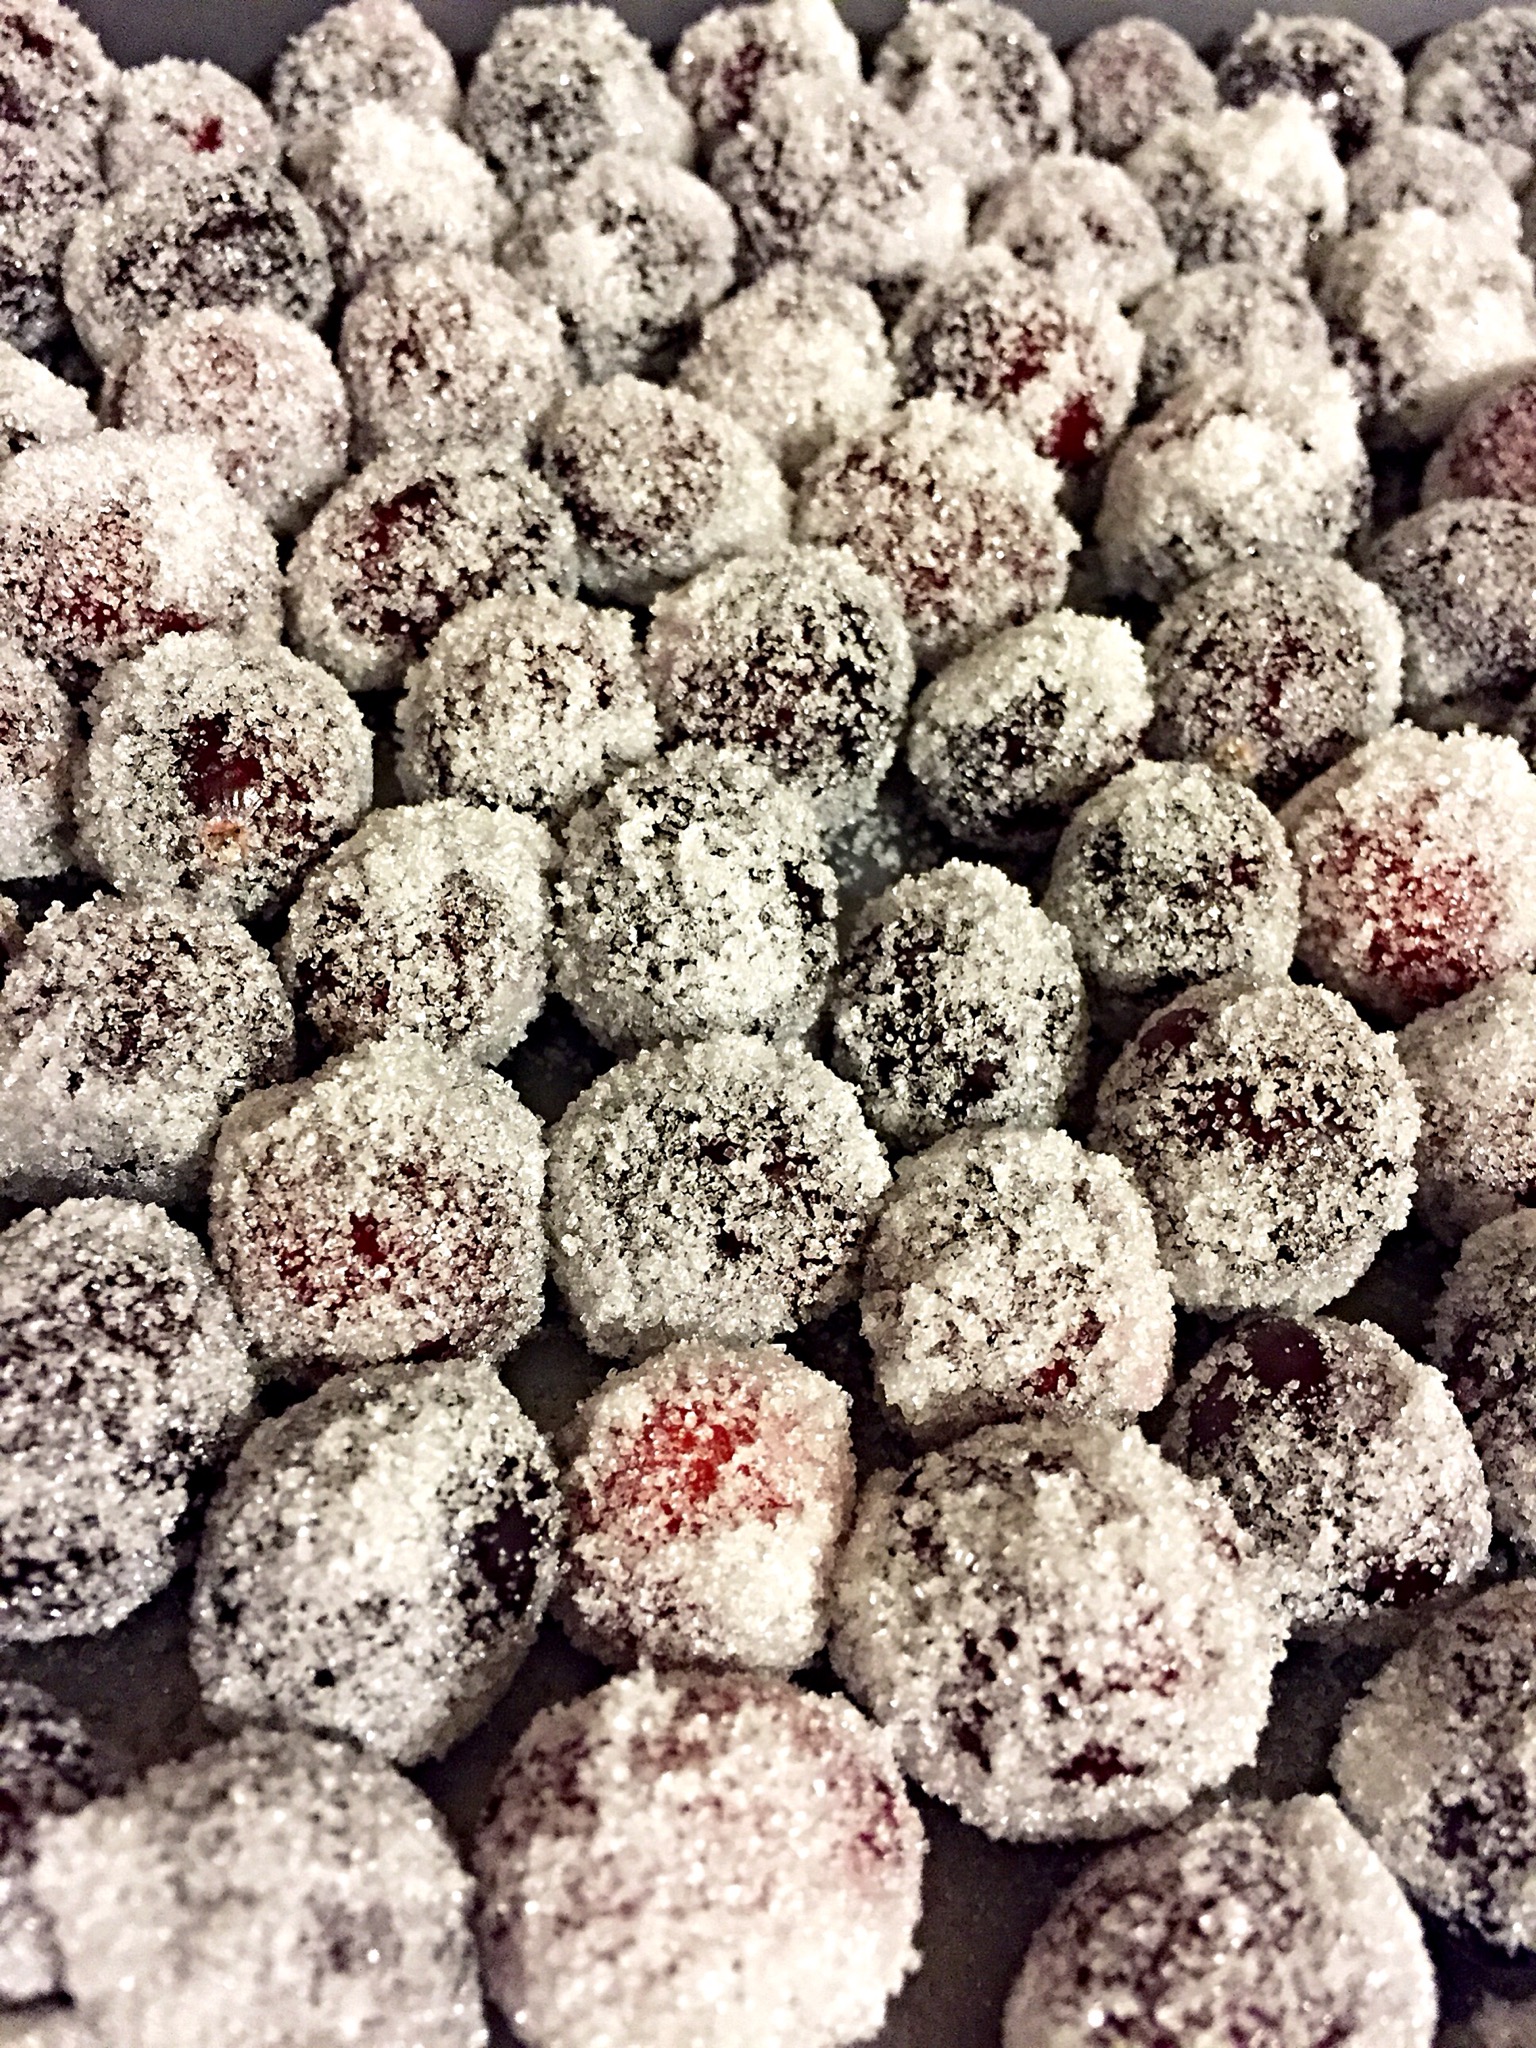
Anyway, let them dry and then transfer them to a container. I’m using a cake pan that has a snap on lid for easy access for snacking. They emphasize in the recipe to keep them in a single layer to reduce rubbing off the coating. I think they look gorgeous and they’d be beautiful in a small crystal bowl as an after the big meal cleanser. Although it didn’t show up in the picture the sugar sparkles with the light; they look almost like a frost hit and you brought them right inside, so the ice is still sparkling and coating them. *happy sigh*

IMG_1934.JPG

They are truly pretty good and probably a healthier little snack than some options that are readily available at this time of the year. I’m a fan of cherry craisins, but not cranberries themselves, since I drank cran everything for most of my childhood, but I actually like these, so that says a lot! They’re totally worth trying again, too. I learned a lot this round and even thought of a few things I want to try next time. I think I’ll add some cherry extract to my simple syrup and see if I can incorporate a little of that flavor since I love cherry craisins so much. Also, I’ll definitely use a mixture of the finer sugar with a coarser one. I love that this recipe actually leaves you a lot of little options to tweak to your family’s preference, too.

I hope you’ll give these little treats a try and also that you’ll take a peek at some of the great recipes that the ladies over at Our Best Bites post. (And no, I received absolutely nothing from them for this recommendation or post. I just like them, and this snack, so I wanted to share. *smile*) I hope you have a relaxing start to your holiday week and that you carve out (see what I did there? lol) a little time to pamper yourself. 🙂

Drumroll please…*grin*  Hi there!  I just wanted to make a quick note that in honor of Cyber Monday I will be offering 10% off all orders (excluding shipping fees and gift certificates) on December 1st.  Why fight the crowds when you can shop in your pajamas? 🙂

Mint Cocoa FTW

I’m finally back to making some product! *happy dance* My mom came over and helped me make lotions for the first time. One sign that it’s been too long since I’ve been able to make lotions: I forgot how exhausting it is. *grin* Even with help that cut my time in half I felt like I had ran a marathon. I wanted to keep going and make some soaps, too, but my body developed a really strong dialogue with my brain that reminded me that I’m supposed to take a break for the same amount of time I’ve worked. *laugh* I’m so glad I was able to get over being on bedrest and start working again. (Note: in case you’re not up on acronyms FTW is “for the win”.)

First I worked on lotions to fill part of an order, then on some my mom’s asked for, and even had the umph to get a few jars done to start stocking my shelves. Booyah! While working on them I couldn’t find a few of my recipes on my laptop or the cloud, so I ended up having to write a new recipe for Mint Cocoa Goat’s Milk V2 lotion and boy howdy did it turn out awesome!! Like that first moment you lay back in a luxurious bath happy sigh awesome. I did four 1 oz samples in the mint cocoa that I need to figure up prices for and post, because this version is a total keeper (and is going into the cloud so that it never gets lost! Lol). I use Fudge Brownie FO most anytime that I’m going for a chocolaty scent profile, but now I have a straight up Chocolate FO that I tried in the new version, and it is perfect! I’m actually really glad that there are a few documents floating in one of the computers somewhere it’s not supposed to be. *grin*

My legs are still killing me hours later, but my skin is almost crawling from being so excited to start making soaps next, as soon as I’m able to be up for a bit. I even found and pulled out the cute holiday baskets and boxes to hopefully make (and sell this time! Lol) a few combos. And maybe started writing a new list of ideas that I want to try. *starts whistling innocently while pushing my notebook under the edge of the couch so no one sees it’s the fifth list* Yeah, my brain and artistic side are both very happy again. *grin*

Just a little shot to show off. There are four 4 oz jars and four 1 oz jars of Mint Cocoa GMV2, one 4 oz Dreamsicle GMV2, two 4 oz jars of On a (Pumpkin) Roll GMV2, and one super refreshing 4 oz jar of Lime Margaritas, Anyone? GMV2. Look at all my lovely little creations.

IMG_1918.JPG

I can’t be any happier over these. With the help I didn’t have to run back and forth, my lotion base never “broke” from my being unable to make it back in time while making a few jars of product, and my kitchen didn’t look like a war zone. I still ended up wearing some and managed to splatter enough onto the controls on my stove that it has a Baywatch sheen in case it wants to start flirting with the microwave. *overly dramatic sigh* You can’t take the disaster zone out of this girl, no matter what, apparently. Lol. At least I didn’t get burned, slip, or get lotion in the eye, so full success in my book. *grin*

Anyway, I just had to share my excitement and successes. Hopefully I’ll be sharing pics of some Red Velvet Cake Slice soaps, mechanic soaps, and a few stocking stuffer friendly soaps in the next couple of days. I’m eyeing an ornament mold that might even let me do a little painting on some soaps, too. Feel free to cross your fingers for me. (Just don’t do your toes because I’ve proven that doing that is pretty unlucky, since it will usually make you fall. Leave the falling to a pro like me. *wink*) I hope you’re having a wonderful weekend and welcome to the new blog followers! I’m really excited that you’re joining in my insanity, er journey. 😉

Simple Syrup

I’ve been planning out our Thanksgiving meal with our parents and am getting a few things done before things get busy. One must have for us is some sweet tea, but since preferences vary I am going to be set up for people to sweeten to their taste. For a really good tea I’m a firm believer in using simple syrup instead of granulated sugar, since it incorporates so well, doesn’t leave part of the sweetener at the bottom, and keeps the tea nice and smooth. Until I got The Cozy Chicks Kitchen Cookbook (ebook) I didn’t know that simple syrup was so easy to make; I’ve been making it ever since. I thought I’d share my experience with their recipe in case anyone else has been too intimidated to try it, too. (Note: The Cozy Chicks are a group of authors who write a type of mystery called a “cozy”, and the recipes are either from their books or “used” by characters in their books.)

A quick word on simple syrup. The recipe I used is for a thicker syrup, with a 2:1 ratio, which is more common with southern sweet tea. Others are much thinner with a 1:1 ratio. I love the thicker syrup because it goes a lot further, so I don’t make it as often. A little bit goes a long way.

Leann Sweeney’s “Jillian’s Sweet Tea” has the instructions for the thicker simple syrup in her recipe. Basically it’s just a 2 sugar to 1 water ratio, so 6 cups of sugar to 3 cups of water. If you’re using bottled water, it can be hot, but if you’re using tap, definitely use cold water, since it’s the cleanest water for drinking (think no water heater). Mix the sugar and water in a saucepan/pot on your stove. I warn you, it’ll seem so extreme when you see all of that sugar. Lol.

IMG_1887.JPG
Heat the mixture on medium-high until the sugar dissolves and the liquid is clear (takes 5-10 minutes). You will see the following, but that’s not enough.

IMG_1888.JPG
It’s tempting to stop now, but trust me, if you keep going it’ll become so beautifully clear you can see the tiny nick in the bottom of my pot. *laugh* Stir/whisk the liquid until the sugar is fully dissolved. Sometimes it’s hard to tell if there is sugar at the bottom or just bubbles, so I usually turn it down a tad when I’m unsure, which reduces the amount of bubbles and lets me see the bottom clearly.

IMG_1902.JPG
Let it cool enough to pour into a bottle or jug and seal it (I just use a lidded jug with a pour spout that is blocked when I turn the lid). If you let it cool too much and you see some crystals start again on the top (like if you’re trying to multitask and vacuum while waiting, but encounter a little detour that you have to clean up in order to finish vacuuming, and then you have to fold that fresh load of laundry, and oh no! you suddenly remember the mixture after an hour *grin*), just warm it back up.

Most believe that simple syrup can sit sealed on your countertop, although some people feel quite strongly that it must be refrigerated. I’m not about to tell you what to do, but I will say that mine sits on the counter not far from my tea maker, and the only problem I’ve ever had is when I’ve forgotten to close the seal and some of it formed clumps of sugar.

A great thing about the syrup is that it’s really easy to flavor, too, by cooking with a vanilla pod, extracts, herbs, or even mixing in some steeped flavored tea into the mixture while dissolving the sugar. www.food.com has some great recipes/instructions for flavored syrups.

If you want to make some and have any questions, I’m more than happy to help. It’ll work great in tea or coffee, and I’m even using it to make a crunchy coating on cranberries (if it turns out I’ll post it soon). It’s a great recipe to have in your back pocket. 🙂

The Ice Queen

I try to put a cheerful or amused spin on my illnesses, or downplay them, most of the time. In following support groups and Pinterest boards I’m starting to realize that maybe Fibromites have gotten a little too adept at these survival techniques, and maybe that’s part of why most people just don’t understand how we can be suffering so much. One of the blurbs really captured this so well and I wanted to feature it tonight, especially since I’ve been trying to be brutally honest lately about what I go through.

IMG_1877.JPG
I’ve been called “The Ice Queen” more times than I can count and what most don’t realize is that a lot of the time I’m barely holding on to get through the day. Breaking down makes others uncomfortable, sometimes makes me sick, and makes me feel like I’m losing control of one of the few things I can still control, so I’d rather stay The Ice Queen most days. The girl in the mirror is covered in invisible bruises and staring into the darkness that she’s afraid may fill the rest of her life; screaming in desperation to be heard by just one person, yet no sound ever carries. The people outside the window, living life out in that big world, bustling about to make the most of their day, while chronically ill sufferers are often watching, longing to be out there with the “normals” instead of trapped by the prison of their bodies.

Hopefully someday we can all learn to quit sharing those polite white lies that makes an easier conversation; avoiding the bare truth that is uncomfortable for both sides. Maybe if we try just once today to be honest about our vulnerability we will get a step closer to truly understanding one another.

Crafty Wrapping

I decided to try and decorate ornaments to attach to gifts this year, instead of the usual bows and curling ribbons. I thought it’d be a nice touch and would help get me out of my blah wrapping habits. *grin* Anyway, I’ve been experimenting on a variety of regular colored bulbs, regular clear glass bulbs, and tiny clear glass bulbs. Glitter, floor wax, mod podge, stickers, acrylic paint, dimensional paint, and glitter glue have all been fair game. Not always with great results, but it keeps me occupied and being creative while I’ve been pretty much laid up for several days.

Sadly I had a beautiful regular sized bulb done with mod podge and copper and red glitters that shattered. I tried to recreate it small scale with one of the tiny bulbs, but the colors don’t pop as much when small and especially not when photographed. Lol It’s still kind of pretty I think, although only the red really shows on “film” apparently. The copper gleams a bit where light is really hitting, like in the reflection of my ceiling light.

IMG_1859.JPG

I also did a few solid red glitter tiny bulbs and then one tiny bulb where I mixed green and red glitters, all with the floor wax for the adhesive. I learned during this that glitter throws off the camera’s focus, so most of my pictures are blurry despite my best efforts. Lol At least there’s proof that I tried, though.

IMG_1861.JPG

IMG_1860.JPG

I used an acrylic copper paint that looks remarkably plum when pixelated and added some gorgeous golden brown and burnt sienna glittery leaf stickers with little rhinestones around the outside of the bulb. Then I added a first initial sticker to another glitter bulb for a fully personalized little ornament for my niece to remove from her gift and add to her little bedroom tree if she wants, too.

IMG_1862.JPG

IMG_1865.JPG

For the dimensional paint and glitter glue I had two bulbs turn out well. Both were very obviously done freehand and I really like them, especially where the paint developed a bubble and left a double line on the black ornament. I think I will try to do a few more patterns with the dimensional glitter since it looks neat and the world needs more glitter. Lol.

IMG_1832.JPG

IMG_1863.JPG

IMG_1830.JPG

IMG_1831.JPG

I did a few swirled paint tiny bulbs that turned out pretty neat. Two in an attempt at camo and one in pastels. They look wildly different with flash versus plain lighting, so I am posting both versions. I can’t wait to see how they look under Christmas lights. *grin*

IMG_1402.JPG

IMG_1403.JPG

Anyway, those are a few of my little projects that I’ve been occupying myself with. I have a few more that are still drying, so I couldn’t take pictures of them, and I don’t want to make this post seriously boring. *grin* Do you like to embellish your gifts? If so, any inspiration or tips you’d mind sharing? In the meantime I hope you have a wonderful day and find a few moments to pamper yourself. You always deserve it.

Don’t Mind Me

While we went on a little ride into the city Larry went into a shop to grab some take out since I didn’t feel up to cooking yet. Bo promptly started looking for Larry and climbed into the driver’s seat when he spotted Larry through the window, and Larry snapped this picture while walking back to the car. Bo has the guiltiest look on his face. *laugh* He tries to pull the “puppy eyes” when he thinks he’s in trouble or he’s begging for a t-r-e-a-t (thankfully he hasn’t learned the spelling of his favorite word yet lol). “Um, don’t mind me, Daddy. I’m just keeping your spot warm for you since it’s so cold outside.” *grin* Mmhmm, naughty pup.

IMG_1857.JPG

Helpful Tips for Reaching Out

I fully intended to post something else tonight, but I’m in pain and thought this would be a perfect time to share a pin that came through a chronic illness board that I follow. I don’t like to talk about my pain, because it never fully goes away. Seldom is it below a 6 on a 1-10 scale, which is hard for most to comprehend, and a lot of people don’t believe that it’s real, even doctors. A coping mechanism that a lot of chronic pain sufferers develop is to blow off the question of “how are you?” We often say “the usual”, “it’s all good”, or just totally evade answering. Most of the time people don’t know how to handle a true answer and often it makes them uncomfortable. If you are sincere in wanting to reach out to someone in your life that suffers, then try even one thing from this list. The fourth one is a great one. If you do most anything from this list you will be a shining star in an otherwise nonstop darkness, so to speak. Just believe in them and be there. We usually don’t think you’d actually want to be there, or that we must be so boring to hang out with, so we pull back. Someone reaching out, even just in a text to say “I’m thinking of you” or “I just want you to know that I’m here for you if you need something” can sometimes truly be the difference between life and death for them. It’s hard to see the life all around beyond the constant struggle to make it through each day. Bless the person who originally posted this and you for reading, and especially if you ever try one.

IMG_1784.JPG

Chicken Frito Supreme

Chicken Frito Supreme

Hi there!  In honor of Serve It Sunday I want to share a new recipe that I found on Pinterest that will become part of our regular meal rotation.  The original recipe is at http://www.redaprongirl.com/chicken-frito-supreme/, although mine has a few changes plus a little tip.  This meal comes together without a whole lot of work, especially if you all ready have some trimmed chicken breasts ready.

We used:

2 trimmed chicken breasts, diced

1 cup salsa (due to my sensitivities I used extra mild picante instead, but it’s totally whatever you prefer, and I only had the one cup of salsa, so that’s why I went with some Ro-tel.  If you have a full jar of salsa, then use the original 2.5 cups of salsa and omit the Ro-tel)

1 can mild Ro-tel

1 can of chicken broth

5 tbsp. cornstarch (original calls for 3; if you use a picante or Ro-tel, then you will also need more cornstarch)

Grated cheddar cheese

Fritos chips

2 cups Instant Rice

Sautee the chicken until it’s cooked through (we went with two breasts because we didn’t want it as meaty, while the original recipe calls for 4), and then add the salsa/Ro-tel, broth, and cornstarch to the chicken.

ChickenFrito1 ChickenFrito2

Here’s where I take a detour from the original recipe.  It says to “let simmer while rice cooks”.  Most of the time cornstarch needs some heat to become active, just like when you make gravy, so after I stirred the mixture together (and added the extra cornstarch beyond the original recipe) and let it simmer for a while, I finally realized why the mixture was still thin and increased the heat to medium high just until it came to a boil. I then turned it down and let the mixture simmer, stirring frequently, and it thickened up well.  I cooked the instant rice with hot water as the package indicated.

(My feet have been excruciating for the past few days, so I was sitting on my knees on my walker to cook today.  I stepped down to rinse a measuring cup and when I turned back I discovered that Abby had taken advantage of my walker to check on the meal.  *laugh*  Apparently it smelled good, because she really didn’t want to get back down to the floor! *grin*)

ChickenFrito3

Look how yummy the sauce looks once it thickens:

ChickenFrito4

Once everything is cooked, layer rice, chicken sauce mixture, shredded cheese, and fritos on each person’s plate.

Chicken Frito Supreme

Chicken Frito Supreme

It is SO good and surprisingly hearty.  I only ate half of the plate of food.  We love cheddar, so we were pretty generous with the cheese, and I love how gooey it got after sitting on the hot chicken sauce mixture for a few minutes.  You can change up the chips, but I agree with the original blogger that Fritos really makes this dish pop.  I think it’s because of the corn flavor rounding out the almost Mexican food flavors.  If you like a meatier dish, then you can totally add more chicken.  The two breasts turned out to be the perfect amount for our preference (which is ironic, since Larry is very much a “meat and potatoes” man).  I like that the recipe is a good start that allows for a lot of versatility.  I really want to stress though that if your sauce mixture doesn’t seem to be thickening, then you need to bring it up to a boil and then let the mixture simmer, just like you would with a cornstarch based gravy.  It makes a world of difference.  If you have a really thick and hearty salsa, then I’d start with 2 tablespoons of cornstarch and add as needed, if needed.  We’re going to make this again next week and we’re going to add some sliced black olives when layering.  Mmmm.  I hope you give this recipe a try.  You serve right from the two pans, and no baking needed, so it’s a great meal for a busy day in my opinion.

If you try it, I’d love to hear about your experience and especially any tweaks you made.  Until tomorrow 🙂

A Little Sass

I’m in a lot of pain today, so I’m keeping this short and sweet. The first SO applies to my life, especially while I’m back on bedrest. I have the ideas and motivation, but not a body that can actually do anything I want most of the time.

IMG_1746.JPG

Now a few just because they’re my favorite “laughs” right now. I hope you enjoy them too. A part of me is worried about how accurate these are. 😉

IMG_1749.JPG

IMG_1747.JPG